Big Blue Sky

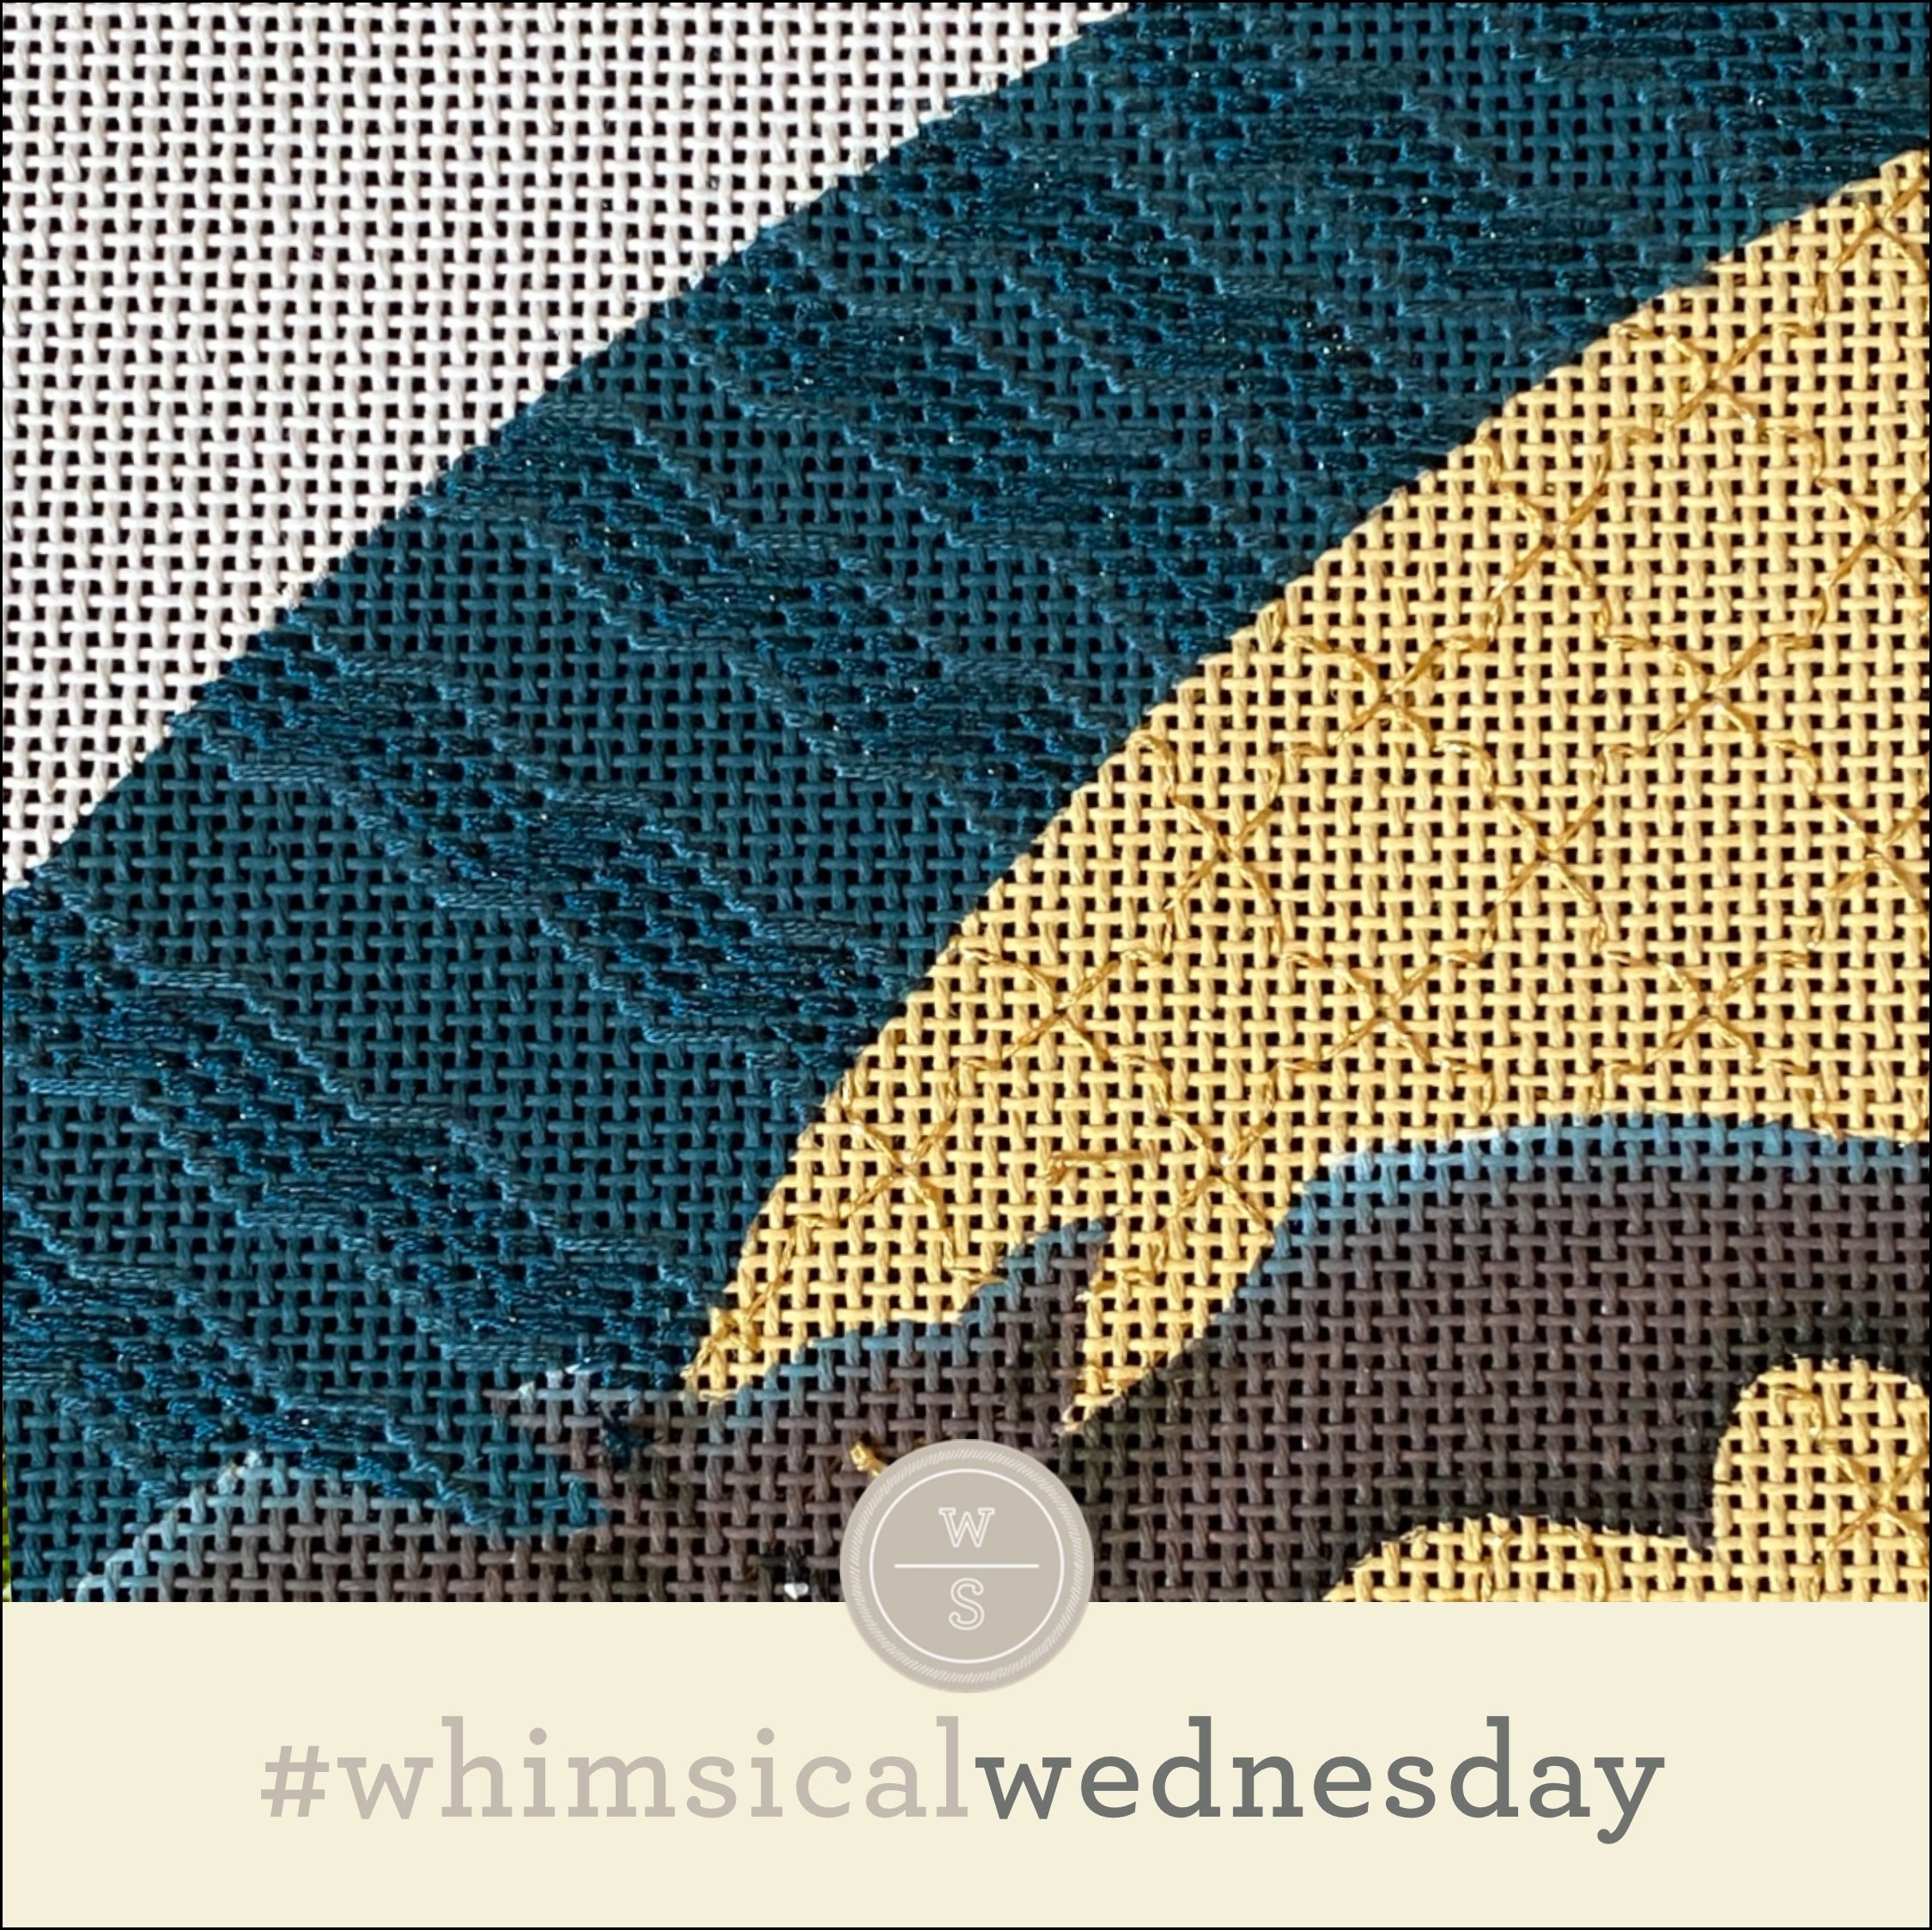
Today’s stitch started out as a stitch I introduced in an embellishment class for a sky behind a witch (by Melissa Shirley) and ended up as the sky behind a row of houses on a Melissa Shirley winter Christmas piece. I promise it is a great candidate for a sky stitch on designs by any designer and not just those created by Melissa Shirley.

Click the image to see the whimsicalstitch.com Stitch Library on pinterest.com. Includes all #whimsicalwednesday and #smallspacesunday stitch diagrams.

Click the image to see #whimsicalwednesday and #smallspacesunday Stitched Sample Gallery on Instagram.

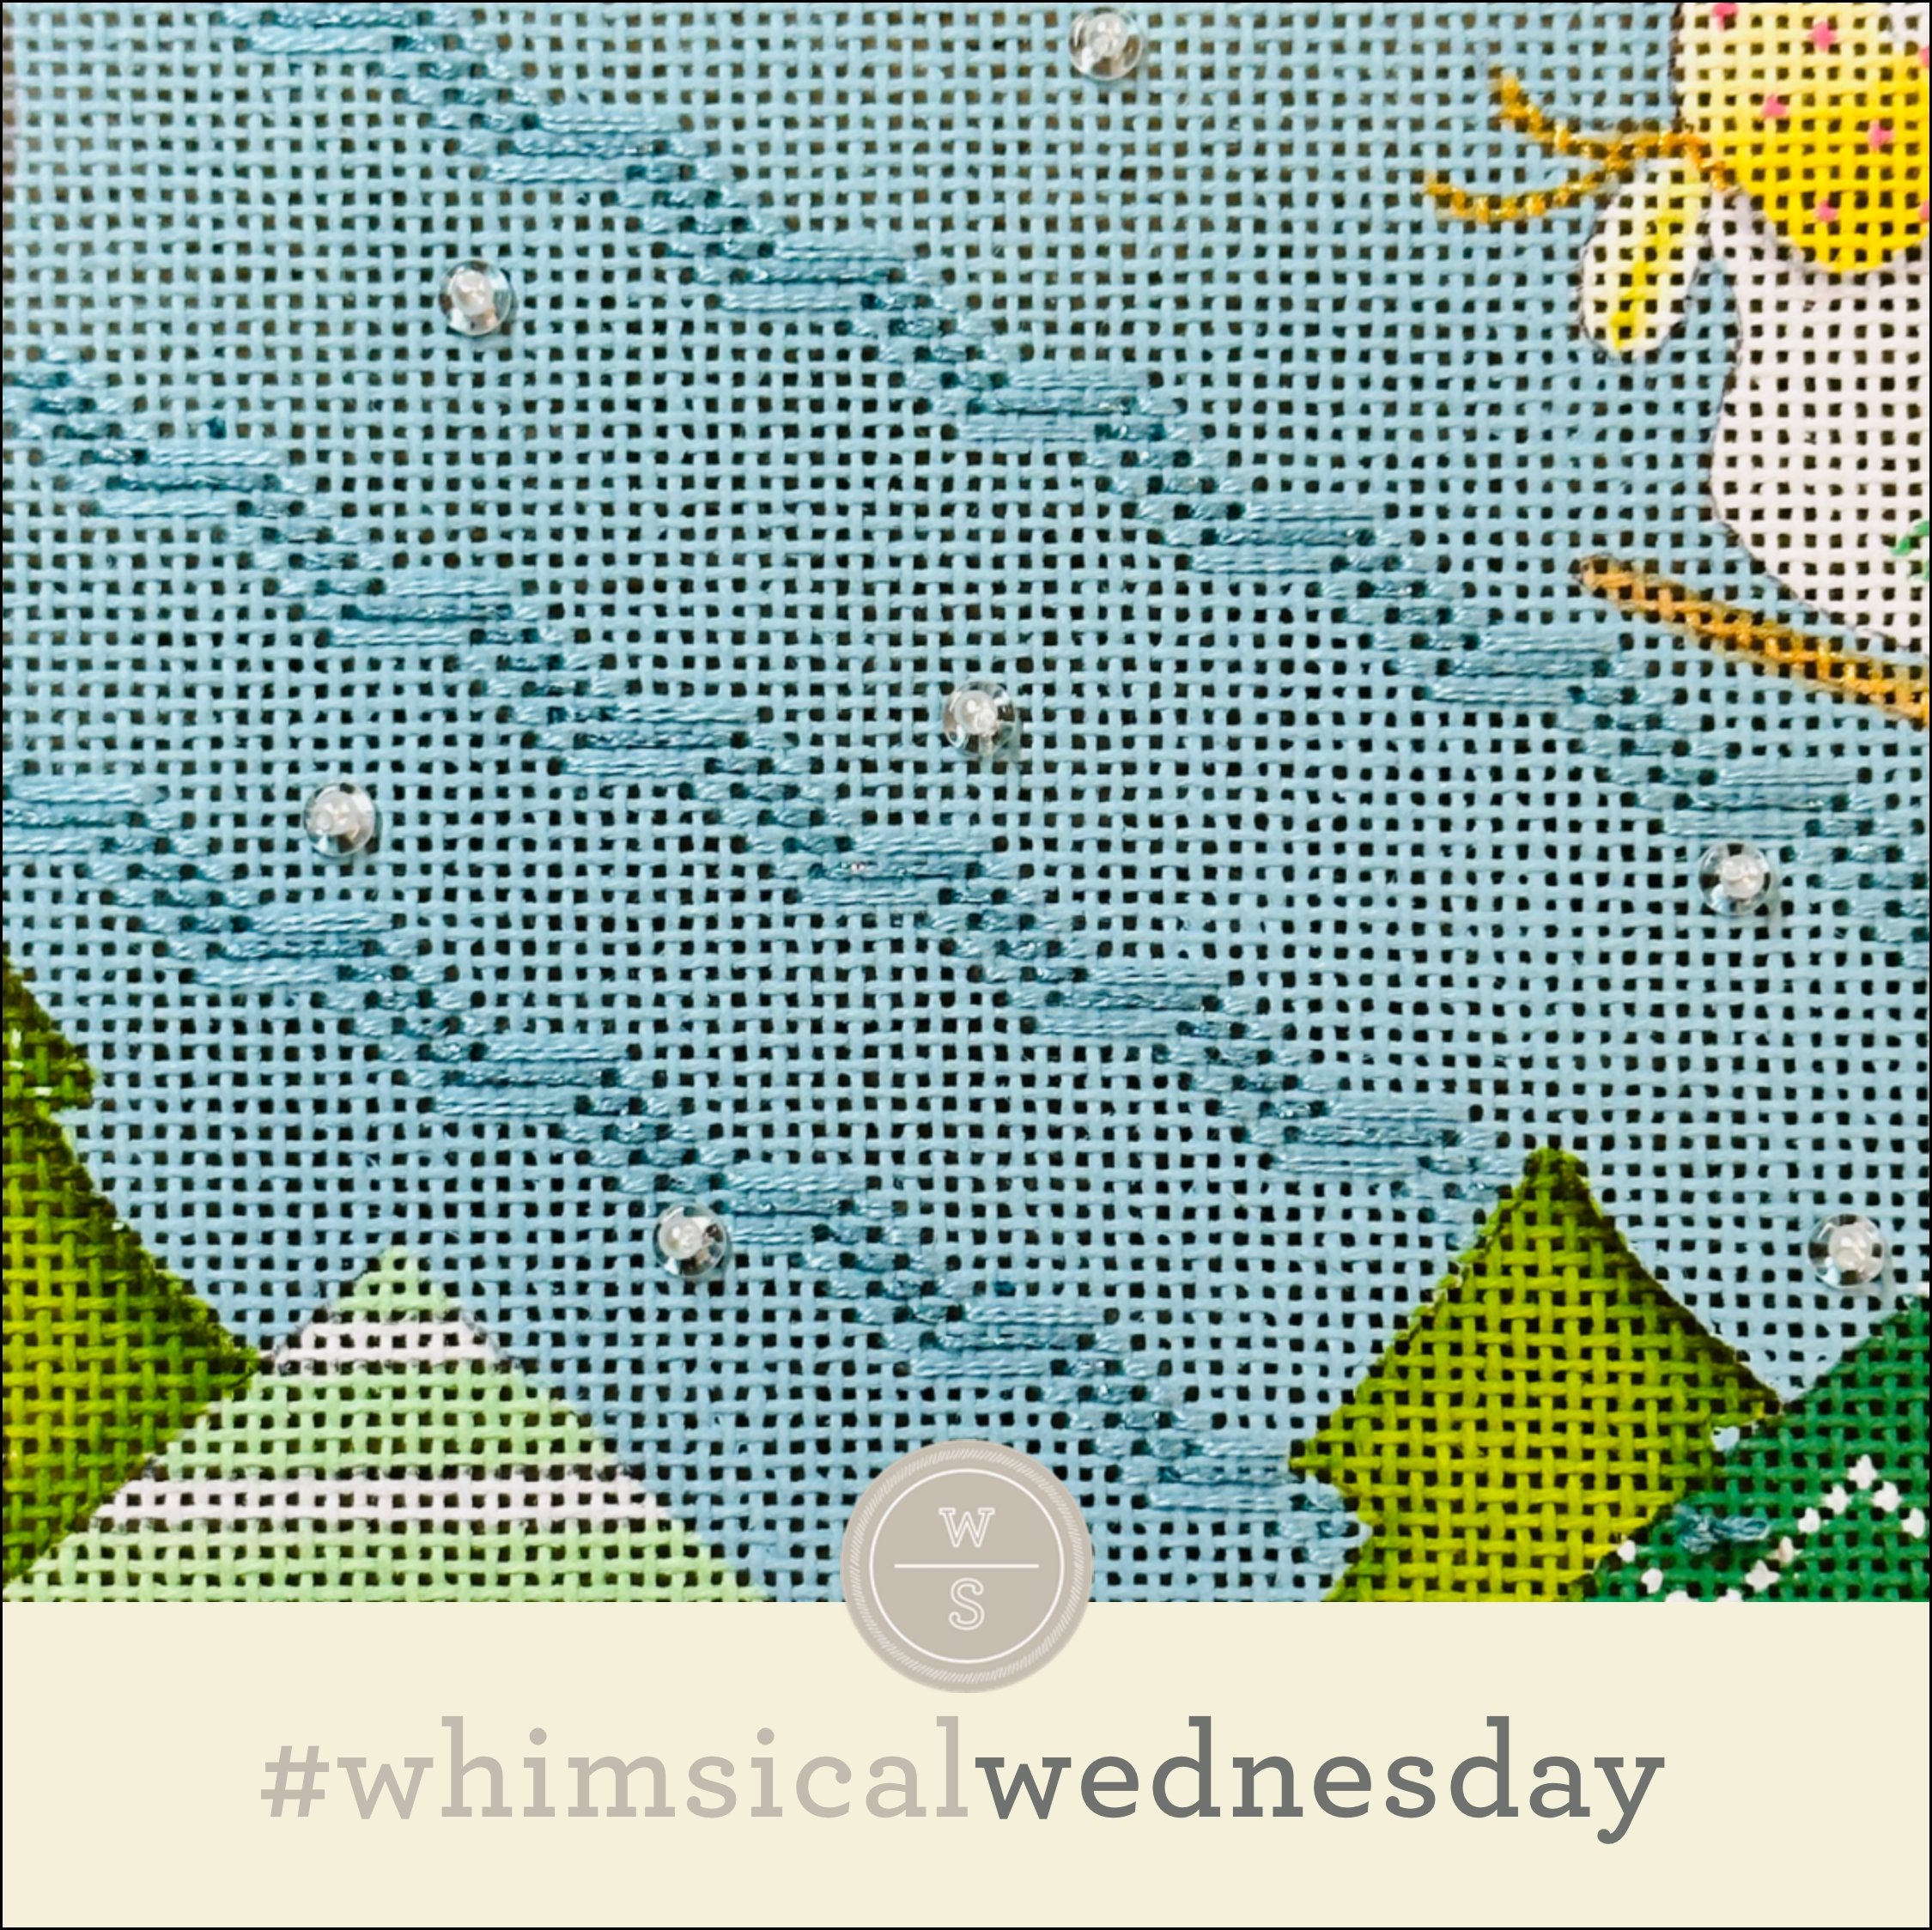
The inspiration for this stitch comes from the Straight Shifts stitch in book 3. Today’s stitched sample (from the Melissa Shirley Christmas piece) includes narrow bands (three rows) of stitches, using two plies of Soie D'Alger (black lines) and Petite Silk Lame (yellow lines). The space between the bands is random to add more organic motion.

Those same open spaces between the bands were the inspiration to make the small snowflakes (or stars) stand out more. The snowflakes were painted as simple 2X2 white squares. I added a crystal O bead (from artbeads.com) and attached it with a 2mm faux pearl from S&J Designs.

Meanwhile, back on the Melissa Shirley witch, my independent-minded customer added two more rows of metallic to each band. (In unsurprising news, she used Soie d’Alger for the black lines and Petite Silk Lame for the yellow lines, as illustrated on the right.) She reduced the amount of space between the bands, and I think it worked perfectly. (Full disclosure: I asked her for the stitched samples Tuesday morning and told her how I was going to present it in the blog post. Her response? “I am honored and humbled to be your student gone bad!!! I am really not worthy.”)

It’s a fun stitch that may not work everywhere, but I am looking forward to using it for water with two shades of lightweight Kreinik. I also think the denser version from the witch sample would actually make a really interesting stitch for a moon with silk floss and a lightweight metallic (Kreinik or Petite Silk Lame).

Click on image to see the whimsicalstitch.com Stitch Library on pinterest.com. Includes all #whimsicalwednesday and #smallspacesunday stitch diagrams.

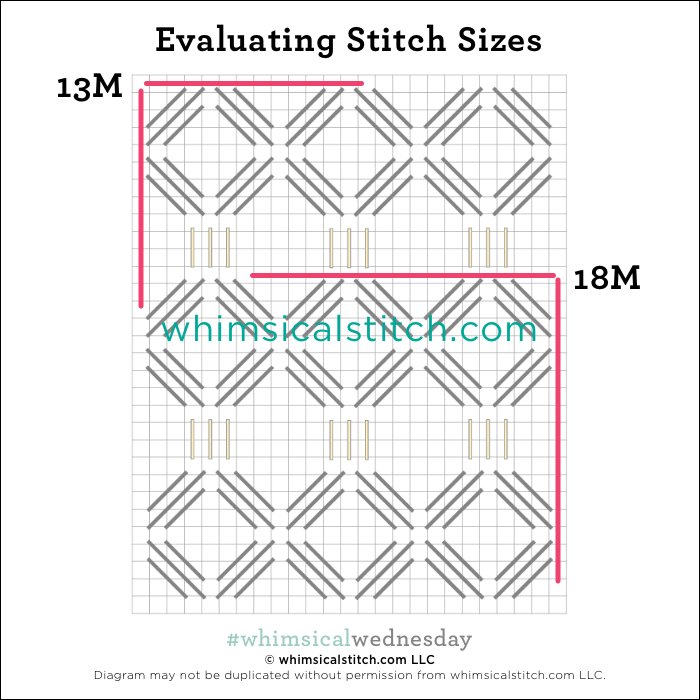
As you are auditioning stitches (from any stitch source), count the number of canvas threads on the diagram that match your mesh size. And there you have what an inch of the stitch will look like. Evaluate that against the area where you plan to use the stitch and make your final decision. If you start integrating this step into your stitch selection process, you may be surprised at how many stitches you think are large are much smaller than you realize.

By (sometimes) including this step in my own process, I find I am now integrating much longer stitches than I ever thought I would. I used to think a stitch six rows long was super big. I have very much changed my tune, which has helped me expand my creativity, especially for large-space stitches.

Today’s stitch diagram, along with all other #whimsicalwednesday and #smallspacesunday stitch diagrams, can also be found on a Pinterest board here. Be sure to follow whimsicalstitch.com on FacebookPinterestInstagram, and Twitter.

If you like what you see on this blog, there's more. Mary’s Whimsical Stitches is a series of four books offering contemporary how-to collections of more than 200 stitches (in each volume) for all stitchers, regardless of skill level. All books include updated and sequenced diagrams from this blog, plus a collection of all-new stitches from private lessons and other class projects. Visit here to find a needlepoint retailer that carries my books.

New to needlepoint or looking for a refresher? Please download a handy how-to guide covering basic needlepoint stitches and stitch compensation techniques along with new top-line information on needlepoint materials and tools, how to handle threads, and other helpful needlepoint resources.

whimsicalstitch.com also sells Stitch Guides and Stitch Concepts for Melissa Shirley Designs, Zecca DesignsSandra Gilmore, Purple Palm, Maggie, and Penny MacLeod, and many more. Click here to see the newest guides and click here to see the entire collection.

I hope you have the perfect spot for this stitch! Please enjoy! Have a wonderful #whimsicalwednesday!

A Note about Diagrams
I use color in diagrams to make them as clear as possible.  The primary function of different colored lines is to illustrate a stitch sequence.  For example, the layering of colors demonstrates you add them in that order.  They can also provide ideas on integrating additional threads (one line for each color).  Or, you can use the same thread for all color lines.  That's where I encourage you to use your imagination for the space you are stitching!

Going Down the Rabbit Hole

I flew down the rabbit hole last week to find the moon stitch I was looking for and couldn’t be happier with my two choices!

Click the image to see the whimsicalstitch.com Stitch Library on pinterest.com. Includes all #whimsicalwednesday and #smallspacesunday stitch diagrams.

Click the image to see #whimsicalwednesday and #smallspacesunday Stitched Sample Gallery on Instagram.

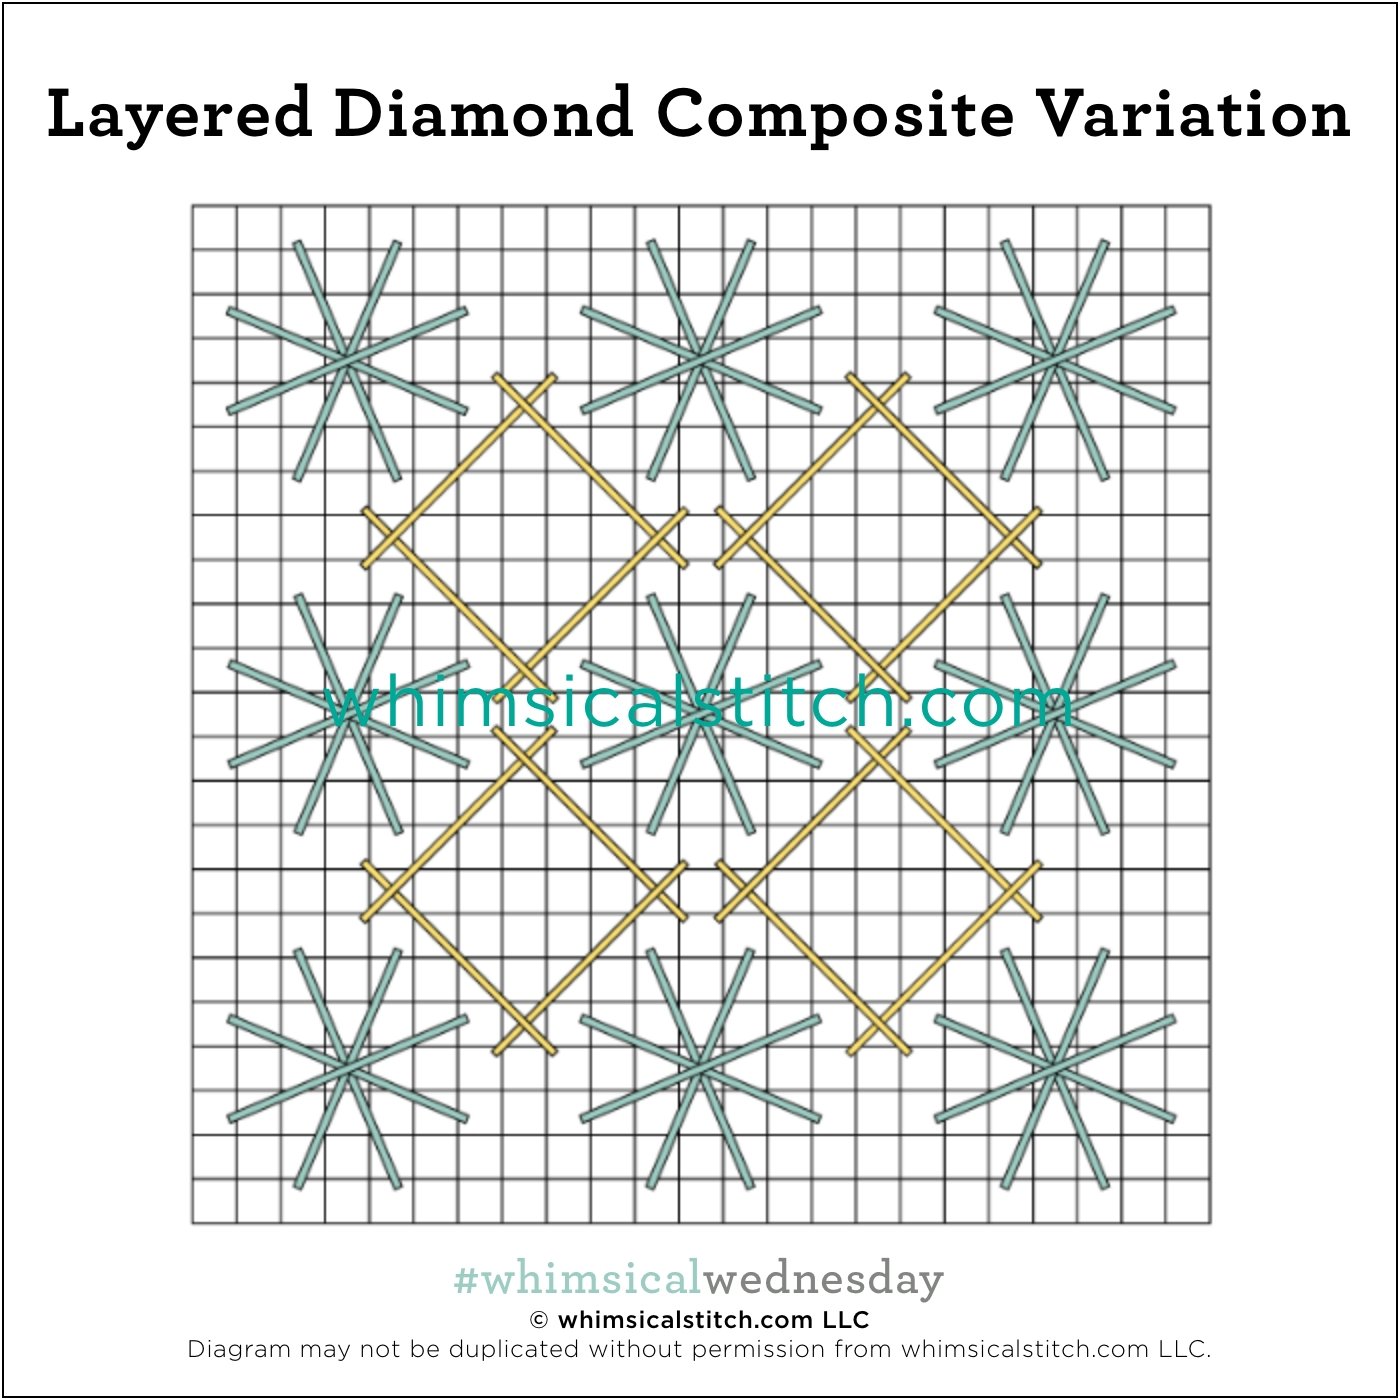
As you can see, the layered diamond I shared last week was the jumping-off point for this week’s stitches. After some trial and error, I added some space between the layered stitches at the tip of each diamond so I could have more fun with the stitch inside the diamond. It was so much fun to play with stitches in either of the open spaces created by the layered diamonds (yellow lines) that I ended up with two stitches for today. In all honesty, I love the layered diamonds all by themselves without any accent stitches.

The first stitched sample (above) is me playing with gold Kreinik (yellow lines) and three plies of pink Splendor (aqua lines) on 13M. I love the scale of this stitch. It has a certain elegance that will enhance so many areas. I am looking forward to using it for a vase with two shades of metallic thread, whether that is Kreinik or Petite Silk Lame. It will make a gorgeous background for an ornament. (Truth be told, you could fill a 4” round with nothing but this stitch for an ornament.)

As you may recall, my goal was to find a stitch for a moon on a Melissa Shirley holiday piece. I used the same layered diamonds and added accents inside of both open areas. It’s a fuller stitch. (It also looks smaller than above because it is on 18M.)

Click the image to see the whimsicalstitch.com Stitch Library on pinterest.com. Includes all #whimsicalwednesday and #smallspacesunday stitch diagrams.

Click the image to see #whimsicalwednesday and #smallspacesunday Stitched Sample Gallery on Instagram.

The threads for the moon are a size 8 Kreinik (yellow lines), Flair (aqua lines), and two plies of white Splendor (black lines) on 18M. The black lines, while an afterthought, were a fun way to connect the layered diamonds and fill what I thought was a little bit of a large space. It is highly likely I will replace the Splendor with either the same white Kreinik as the yellow lines or a very pale shade of a blue or yellow Kreinik. Time will tell.

Either of these stitches will add interest to whatever area you have in mind, whether it is a pumpkin or clothing. (Still stuck on pumpkins as I am writing this post on Halloween, but pumpkins are always looking for great stitches.) I would love to see the pumpkin with layered diamonds stitched with Petite Very Velvet (yellow lines), orange Kreinik (aqua lines), and an orange Fyre Werks (black lines).

A lot of fun is to be had with this stitch, and I hope you enjoy it as much as I am.

Click on image to see the whimsicalstitch.com Stitch Library on pinterest.com. Includes all #whimsicalwednesday and #smallspacesunday stitch diagrams.

As you are auditioning stitches (from any stitch source), count the number of canvas threads on the diagram that match your mesh size. And there you have what an inch of the stitch will look like. Evaluate that against the area where you plan to use the stitch and make your final decision. If you start integrating this step into your stitch selection process, you may be surprised at how many stitches you think are large are much smaller than you realize.

By (sometimes) including this step in my own process, I find I am now integrating much longer stitches than I ever thought I would. I used to think a stitch six rows long was super big. I have very much changed my tune, which has helped me expand my creativity, especially for large-space stitches.

Today’s stitch diagram, along with all other #whimsicalwednesday and #smallspacesunday stitch diagrams, can also be found on a Pinterest board here. Be sure to follow whimsicalstitch.com on FacebookPinterestInstagram, and Twitter.

If you like what you see on this blog, there's more. Mary’s Whimsical Stitches is a series of four books offering contemporary how-to collections of more than 200 stitches (in each volume) for all stitchers, regardless of skill level. All books include updated and sequenced diagrams from this blog, plus a collection of all-new stitches from private lessons and other class projects. Visit here to find a needlepoint retailer that carries my books.

New to needlepoint or looking for a refresher? Please download a handy how-to guide covering basic needlepoint stitches and stitch compensation techniques along with new top-line information on needlepoint materials and tools, how to handle threads, and other helpful needlepoint resources.

whimsicalstitch.com also sells Stitch Guides and Stitch Concepts for Melissa Shirley Designs, Zecca DesignsSandra Gilmore, Purple Palm, Maggie, and Penny MacLeod, and many more. Click here to see the newest guides and click here to see the entire collection.

I hope you have the perfect spot for this stitch! Please enjoy! Have a wonderful #whimsicalwednesday!

A Note about Diagrams
I use color in diagrams to make them as clear as possible.  The primary function of different colored lines is to illustrate a stitch sequence.  For example, the layering of colors demonstrates you add them in that order.  They can also provide ideas on integrating additional threads (one line for each color).  Or, you can use the same thread for all color lines.  That's where I encourage you to use your imagination for the space you are stitching!

When Things Go Right

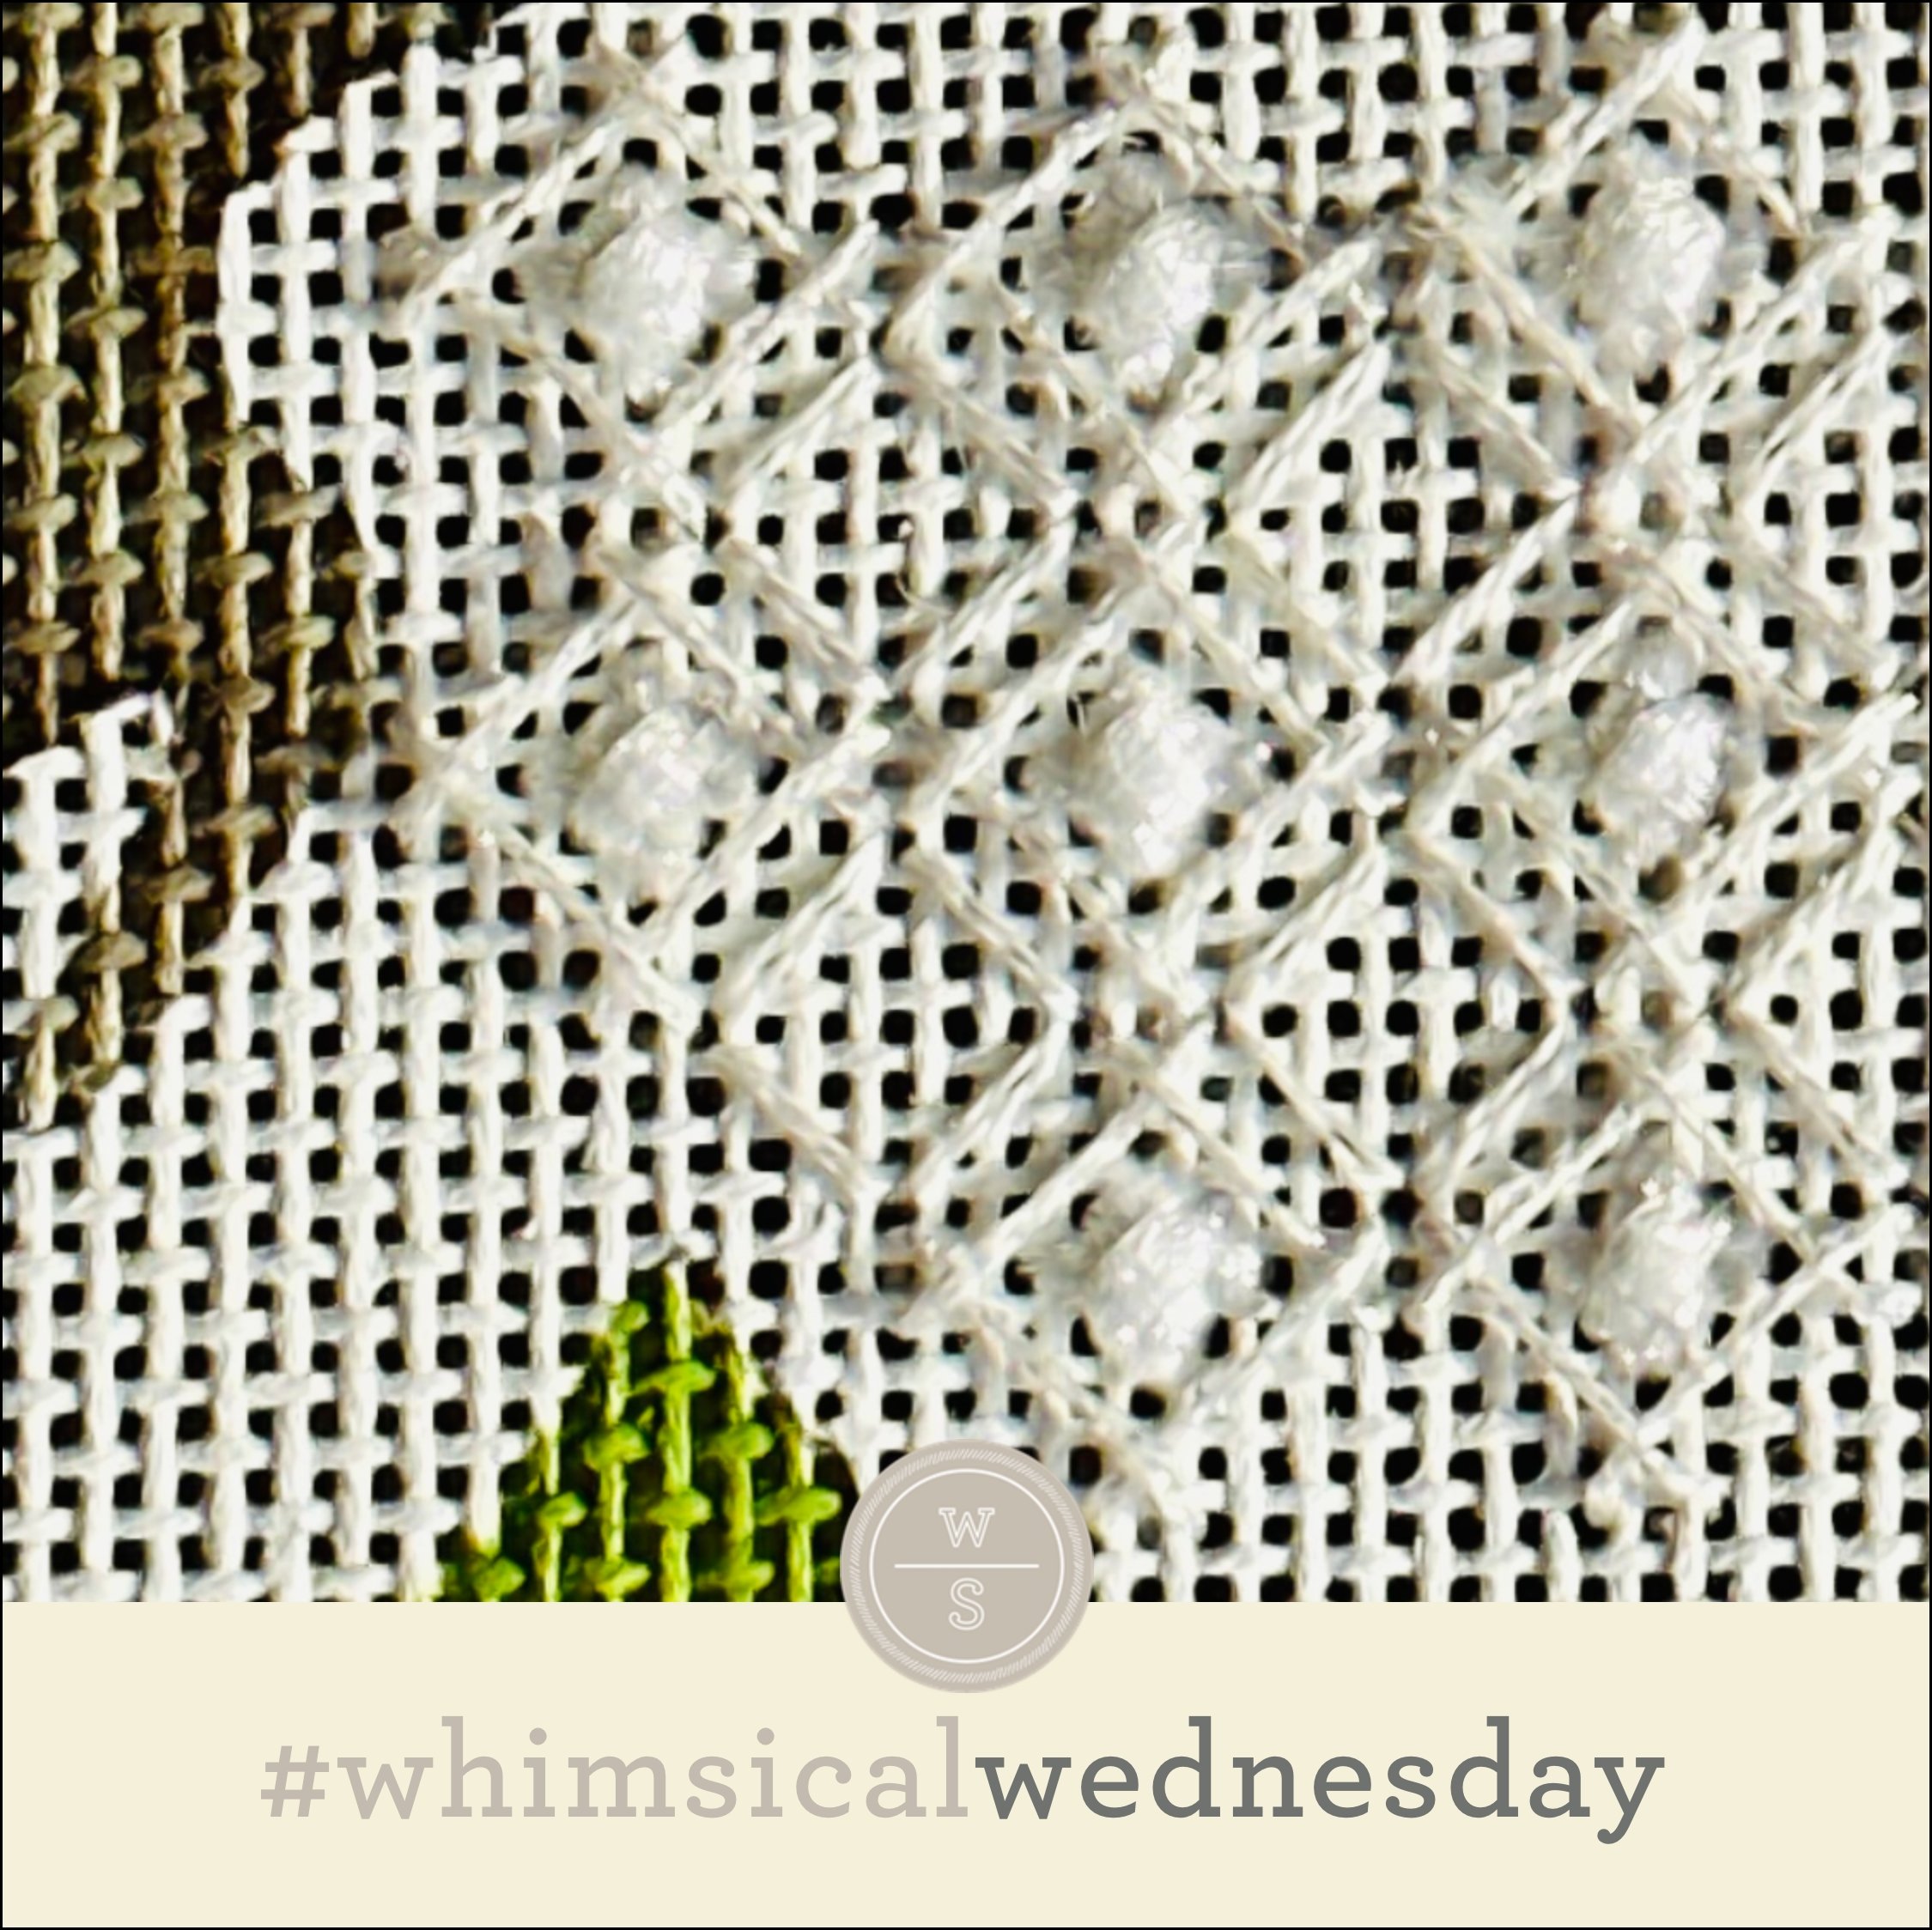
Today’s stitch was a journey. It started out as something utterly different and I’m thrilled with where it landed.

Click the image to see the whimsicalstitch.com Stitch Library on pinterest.com. Includes all #whimsicalwednesday and #smallspacesunday stitch diagrams.

Click the image to see #whimsicalwednesday and #smallspacesunday Stitched Sample Gallery on Instagram.

The stitched sample is me playing with a batch of colorful threads, including Neon Rays (black lines), four plies of Spendor (yellow lines), and Fyre Werks (aqua lines) on 13M.

The first place I want to use this stitch is a pumpkin. Yes, that has everything to do with the orange Neon Rays. I would add an orange Twinkle for the yellow lines and a copper or gold Kreinik for the aqua lines. I also look forward to including it in a stitch plan for a jacket with silk floss for the black lines, a lightweight Kreinik or Petite Silk Lame for the yellow lines, and Silk Lame for the aqua lines.

I played with diagonal stitches and straight stitches for the center and preferred the coverage of the diagonal stitches. I am also playing with its scalability and will report back. Have fun with it!

Click on image to see the whimsicalstitch.com Stitch Library on pinterest.com. Includes all #whimsicalwednesday and #smallspacesunday stitch diagrams.

As you are auditioning stitches (from any stitch source), count the number of canvas threads on the diagram that match your mesh size. And there you have what an inch of the stitch will look like. Evaluate that against the area where you plan to use the stitch and make your final decision. If you start integrating this step into your stitch selection process, you may be surprised at how many stitches you think are large are much smaller than you realize.

By (sometimes) including this step in my own process, I find I am now integrating much longer stitches than I ever thought I would. I used to think a stitch six rows long was super big. I have very much changed my tune, which has helped me expand my creativity, especially for large-space stitches.

Today’s stitch diagram, along with all other #whimsicalwednesday and #smallspacesunday stitch diagrams, can also be found on a Pinterest board here. Be sure to follow whimsicalstitch.com on FacebookPinterestInstagram, and Twitter.

If you like what you see on this blog, there's more. Mary’s Whimsical Stitches is a series of four books offering contemporary how-to collections of more than 200 stitches (in each volume) for all stitchers, regardless of skill level. All books include updated and sequenced diagrams from this blog, plus a collection of all-new stitches from private lessons and other class projects. Visit here to find a needlepoint retailer that carries my books.

New to needlepoint or looking for a refresher? Please download a handy how-to guide covering basic needlepoint stitches and stitch compensation techniques along with new top-line information on needlepoint materials and tools, how to handle threads, and other helpful needlepoint resources.

whimsicalstitch.com also sells Stitch Guides and Stitch Concepts for Melissa Shirley Designs, Zecca DesignsSandra Gilmore, Purple Palm, Maggie, and Penny MacLeod, and many more. Click here to see the newest guides and click here to see the entire collection.

I hope you have the perfect spot for this stitch! Please enjoy! Have a wonderful #whimsicalwednesday!

A Note about Diagrams
I use color in diagrams to make them as clear as possible.  The primary function of different colored lines is to illustrate a stitch sequence.  For example, the layering of colors demonstrates you add them in that order.  They can also provide ideas on integrating additional threads (one line for each color).  Or, you can use the same thread for all color lines.  That's where I encourage you to use your imagination for the space you are stitching!

It Must Be Spring...

…so let’s bring Santa out again. Santa has a great stitch on his hat, so any time is a good time to trot him out.

Click image to see the whimsicalstitch.com Stitch Library on pinterest.com. Includes all #whimsicalwednesday and #smallspacesunday stitch diagrams.

Click image to see #whimsicalwednesday and #smallspacesunday Stitched Sample Gallery on Instagram.

The stitched sample is from one of my first Melissa Shirley Santa stand-ups, so there is a limited amount of exposed canvas. In addition, my thread descriptions are my best guesses, as I stitched this in the 90s.

The threads on the hat are Silk & Ivory (black lines*) Frosty Rays (yellow lines#), and Neon Rays (aqua lines**) on 13M. (* Confident guess, # 95% sure, ** hard to think of anything else it could be.)

This is a classic full-coverage stitch with many ways to make your own. I’m looking forward to using it on more clothing, such as pants, with a lighter group of threads, such as Vineyard Silk (black lines), a Kreinik metallic (aqua lines), and Flair (yellow lines). This will also make a very interesting pumpkin with silk floss (black lines), an overdyed Kreinik metallic (yellow lines), and a solid metallic to balance it out for the aqua lines, such as Silk Lame or Entice.w

Consider replacing the single tent stitches with seed beads for an even more glamorous version. Using three colors for each line will create a bold stitch that will stand out.

Click on image to see the whimsicalstitch.com Stitch Library on pinterest.com. Includes all #whimsicalwednesday and #smallspacesunday stitch diagrams.

As you are auditioning stitches (from any stitch source), count the number of canvas threads on the diagram that match your mesh size. And there you have what an inch of the stitch will look like. Evaluate that against the area where you plan to use the stitch and make your final decision. If you start integrating this step into your stitch selection process, you may be surprised at how many stitches you think are large are much smaller than you realize. (Or, in today’s case, the stitch is much larger than it looks.)

By (sometimes) including this step in my own process, I find I am now integrating much longer stitches than I ever thought I would. I used to think a stitch six rows long was super big. I have very much changed my tune, which has helped me expand my creativity, especially for large-space stitches.

Today’s stitch diagram, along with all other #whimsicalwednesday and #smallspacesunday stitch diagrams, can also be found on a Pinterest board here. Be sure to follow whimsicalstitch.com on FacebookPinterestInstagram, and Twitter.

If you like what you see on this blog, there's more. Mary’s Whimsical Stitches is a series of three books offering contemporary how-to collections of more than 250 stitches (in each volume) for all stitchers, regardless of skill level. All books include updated and sequenced diagrams from this blog plus a collection of all-new stitches from private lessons and other class projects. Visit here to find a needlepoint retailer that carries my books.

New to needlepoint or looking for a refresher? Please download a handy how-to guide covering basic needlepoint stitches and stitch compensation techniques along with new top-line information on needlepoint materials and tools, how to handle threads, and other helpful needlepoint resources.

whimsicalstitch.com also sells Stitch Guides and Stitch Concepts for Melissa Shirley Designs, Zecca DesignsSandra Gilmore, Purple Palm, Maggie, and Penny MacLeod, and many more. Click here to see the newest guides and click here to see the entire collection.

I hope you have the perfect spot for this stitch! Please enjoy! Have a wonderful #whimsicalwednesday!

A Note about Diagrams
I use color in diagrams to make them as clear as possible.  The primary function of different colored lines is to illustrate a stitch sequence.  For example, the layering of colors demonstrates you add them in that order.  They can also provide ideas on integrating additional threads (one line for each color).  Or, you can use the same thread for all color lines.  That's where I encourage you to use your imagination for the space you are stitching!
Two Extremes

Today’s stitch is kinda fun. The first step was fun all by itself so you now have two new stitches!

Click image to see the whimsicalstitch.com Stitch Library on pinterest.com. Includes all #whimsicalwednesday and #smallspacesunday stitch diagrams.

Click image to see #whimsicalwednesday and #smallspacesunday Stitched Sample Gallery on Instagram.

The stitch is nothing more than a Chevron stitch three rows tall with a tiny vertical accent covering the intersection where the diagonal stitches meet. I went a little crazy with the stitched sample. I used red and white Vineyard Silk (black and gray lines, respectively). I covered each intersection with Neon Rays in the opposite color. It was a lot of fun though I may not want to stitch with Neon Rays again for a while. (That said, I love the look.)

This full-coverage stitch will make a fantastic roof, using one color for both the gray and black lines. I think Rainbow Linen, perle cotton, or Vineyard Silk would work for those stitches for a brown roof. I would use a darker brown and cream Silk Lames for the accent stitches to add subtle interest to the roof. This stitch will create a beautiful blanket with a version of the two-color concept illustrated in the stitched sample. Imagine how pretty a blue and yellow blanket in silk floss with contrasting accents in Flair will be.

As I was working on the sample, I loved the first step as much as the end result. Just the red Vineyard Silk and white Neon Rays created such a sassy open stitch. (Note. The threads are way too visible on the back because this was the first step for the stitch above. If the plan had been to skip a row, I would have added the diagonal stitches following the horizontal path across.)

Click image to see the whimsicalstitch.com Stitch Library on pinterest.com. Includes all #whimsicalwednesday and #smallspacesunday stitch diagrams.

Click image to see #whimsicalwednesday and #smallspacesunday Stitched Sample Gallery on Instagram. (Be sure to swipe to see this version.)

I am looking forward to using this version as a purse with two contrasting colors of Straw Silk for both lines. It will also be a beautiful vase with two shades of Kreinik Metallic with a twist. Use size 8 for the black lines and size 12 for the yellow lines.

Click on image to see the whimsicalstitch.com Stitch Library on pinterest.com. Includes all #whimsicalwednesday and #smallspacesunday stitch diagrams.

Just a reminder about how to evaluate stitches for size on your project.

As you are auditioning stitches (from any stitch source), count the number of canvas threads on the diagram that match your mesh size. And there you have what an inch of the stitch will look like. Evaluate that against the area where you plan to use the stitch and make your final decision. If you start integrating this step into your stitch selection process, you may be surprised at how many stitches you think are large are much smaller than you realize. (Or, in today’s case, the stitch is much larger than it looks.)

By (sometimes) including this step in my own process, I find I am now integrating much longer stitches than I ever thought I would. I used to think a stitch six rows long was super big. I have very much changed my tune, which has helped me expand my creativity, especially for large-space stitches.

Today’s stitch diagram, along with all other #whimsicalwednesday and #smallspacesunday stitch diagrams, can also be found on a Pinterest board here. Be sure to follow whimsicalstitch.com on FacebookPinterestInstagram, and Twitter.

If you like what you see on this blog, there's more. Mary’s Whimsical Stitches is a series of three books offering contemporary how-to collections of more than 250 stitches (in each volume) for all stitchers, regardless of skill level. All books include updated and sequenced diagrams from this blog plus a collection of all-new stitches from private lessons and other class projects. Visit here to find a needlepoint retailer that carries my books.

New to needlepoint or looking for a refresher? Please download a handy how-to guide covering basic needlepoint stitches and stitch compensation techniques along with new top-line information on needlepoint materials and tools, how to handle threads, and other helpful needlepoint resources.

whimsicalstitch.com also sells Stitch Guides and Stitch Concepts for Melissa Shirley Designs, Zecca DesignsSandra Gilmore, Purple Palm, Maggie, and Penny MacLeod, and many more. Click here to see the newest guides and click here to see the entire collection.

I hope you have the perfect spot for this stitch! Please enjoy! Have a wonderful #whimsicalwednesday!

A Note about Diagrams
I use color in diagrams to make them as clear as possible.  The primary function of different colored lines is to illustrate a stitch sequence.  For example, the layering of colors demonstrates you add them in that order.  They can also provide ideas on integrating additional threads (one line for each color).  Or, you can use the same thread for all color lines.  That's where I encourage you to use your imagination for the space you are stitching!
90's Throwback

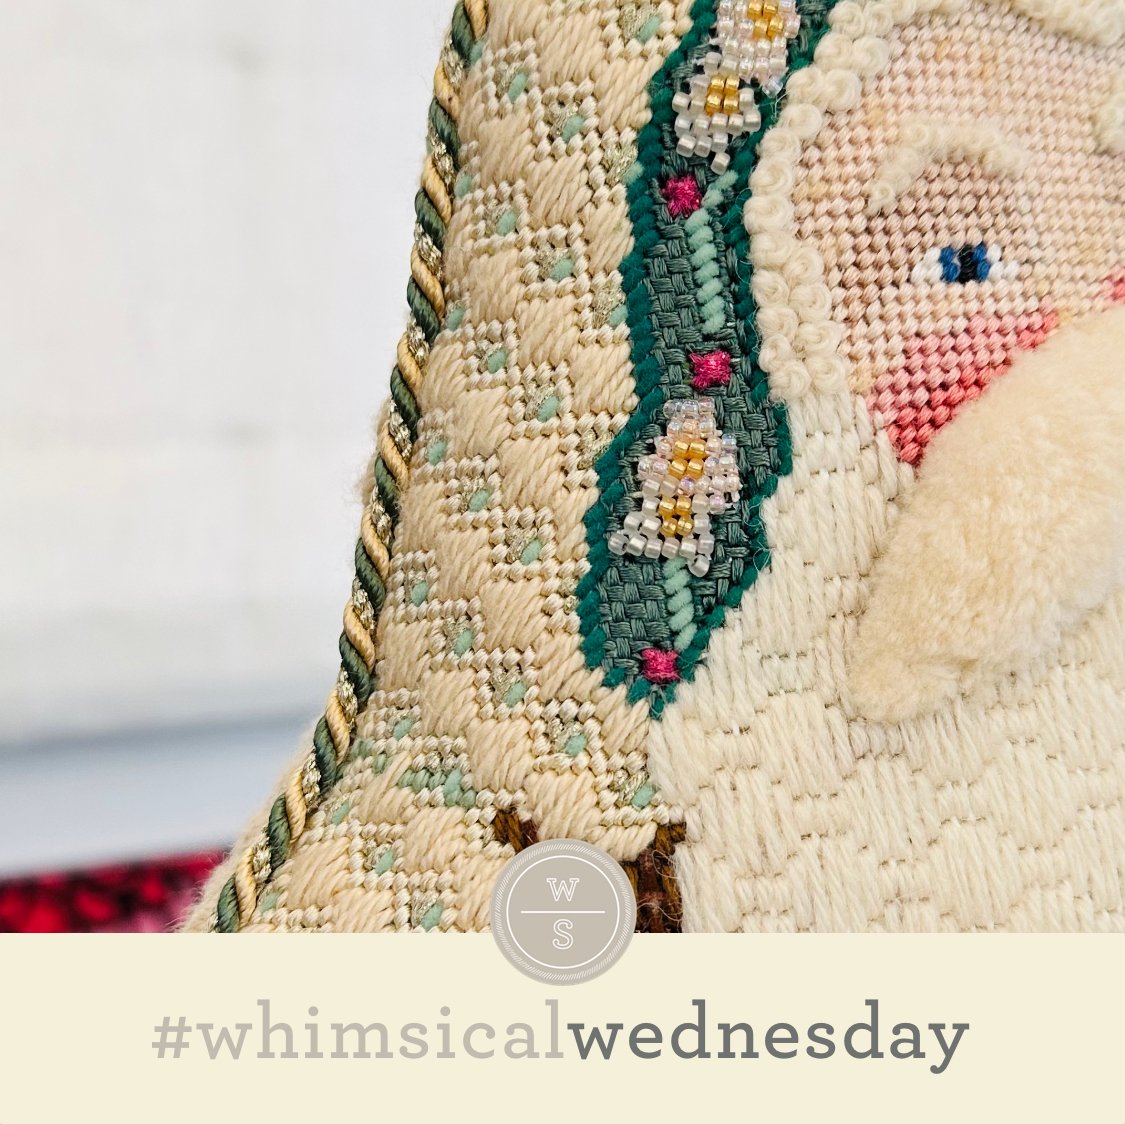
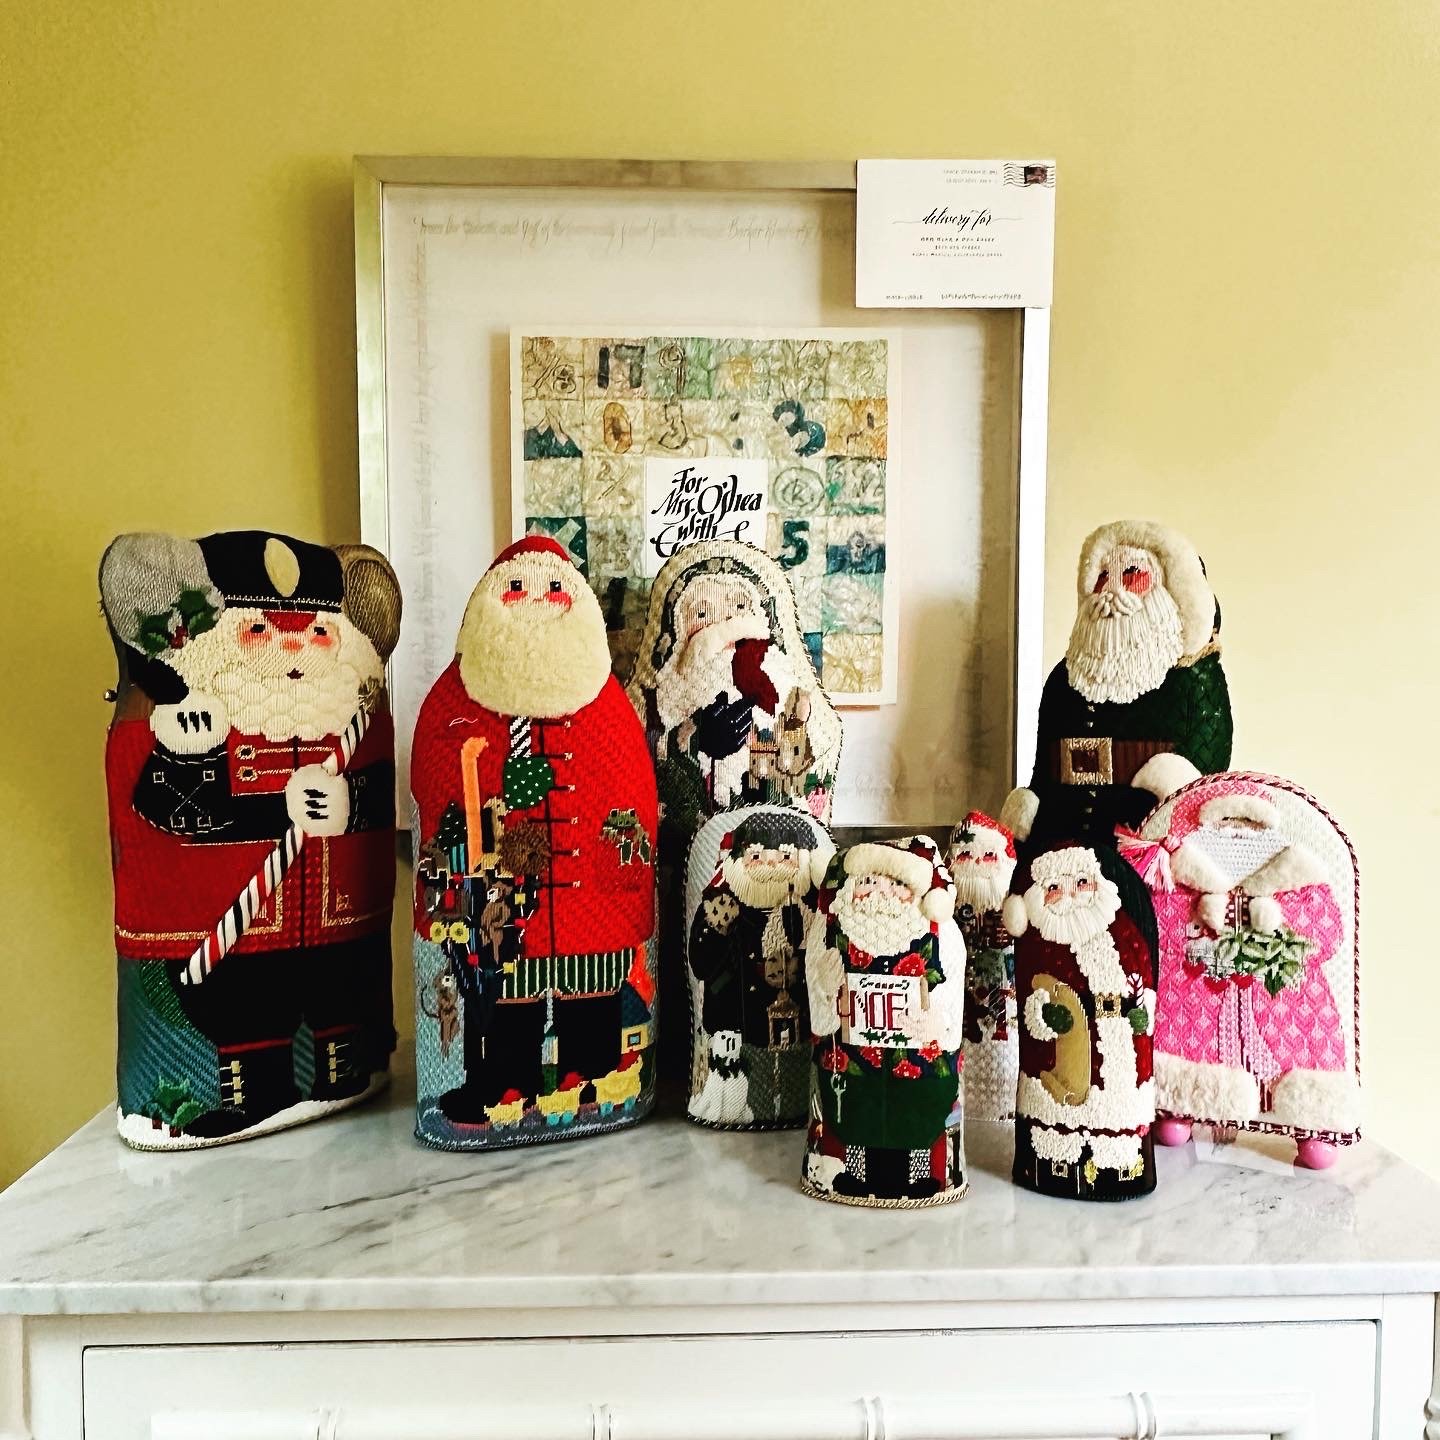
Today’s stitch shows up in my home once a year as it is from one of my cherished Melissa Shirley two-sided Santa standups.

Click image to see the whimsicalstitch.com Stitch Library on pinterest.com. Includes all #whimsicalwednesday and #smallspacesunday stitch diagrams.

Click image to see #whimsicalwednesday and #smallspacesunday Stitched Sample Gallery on Instagram.

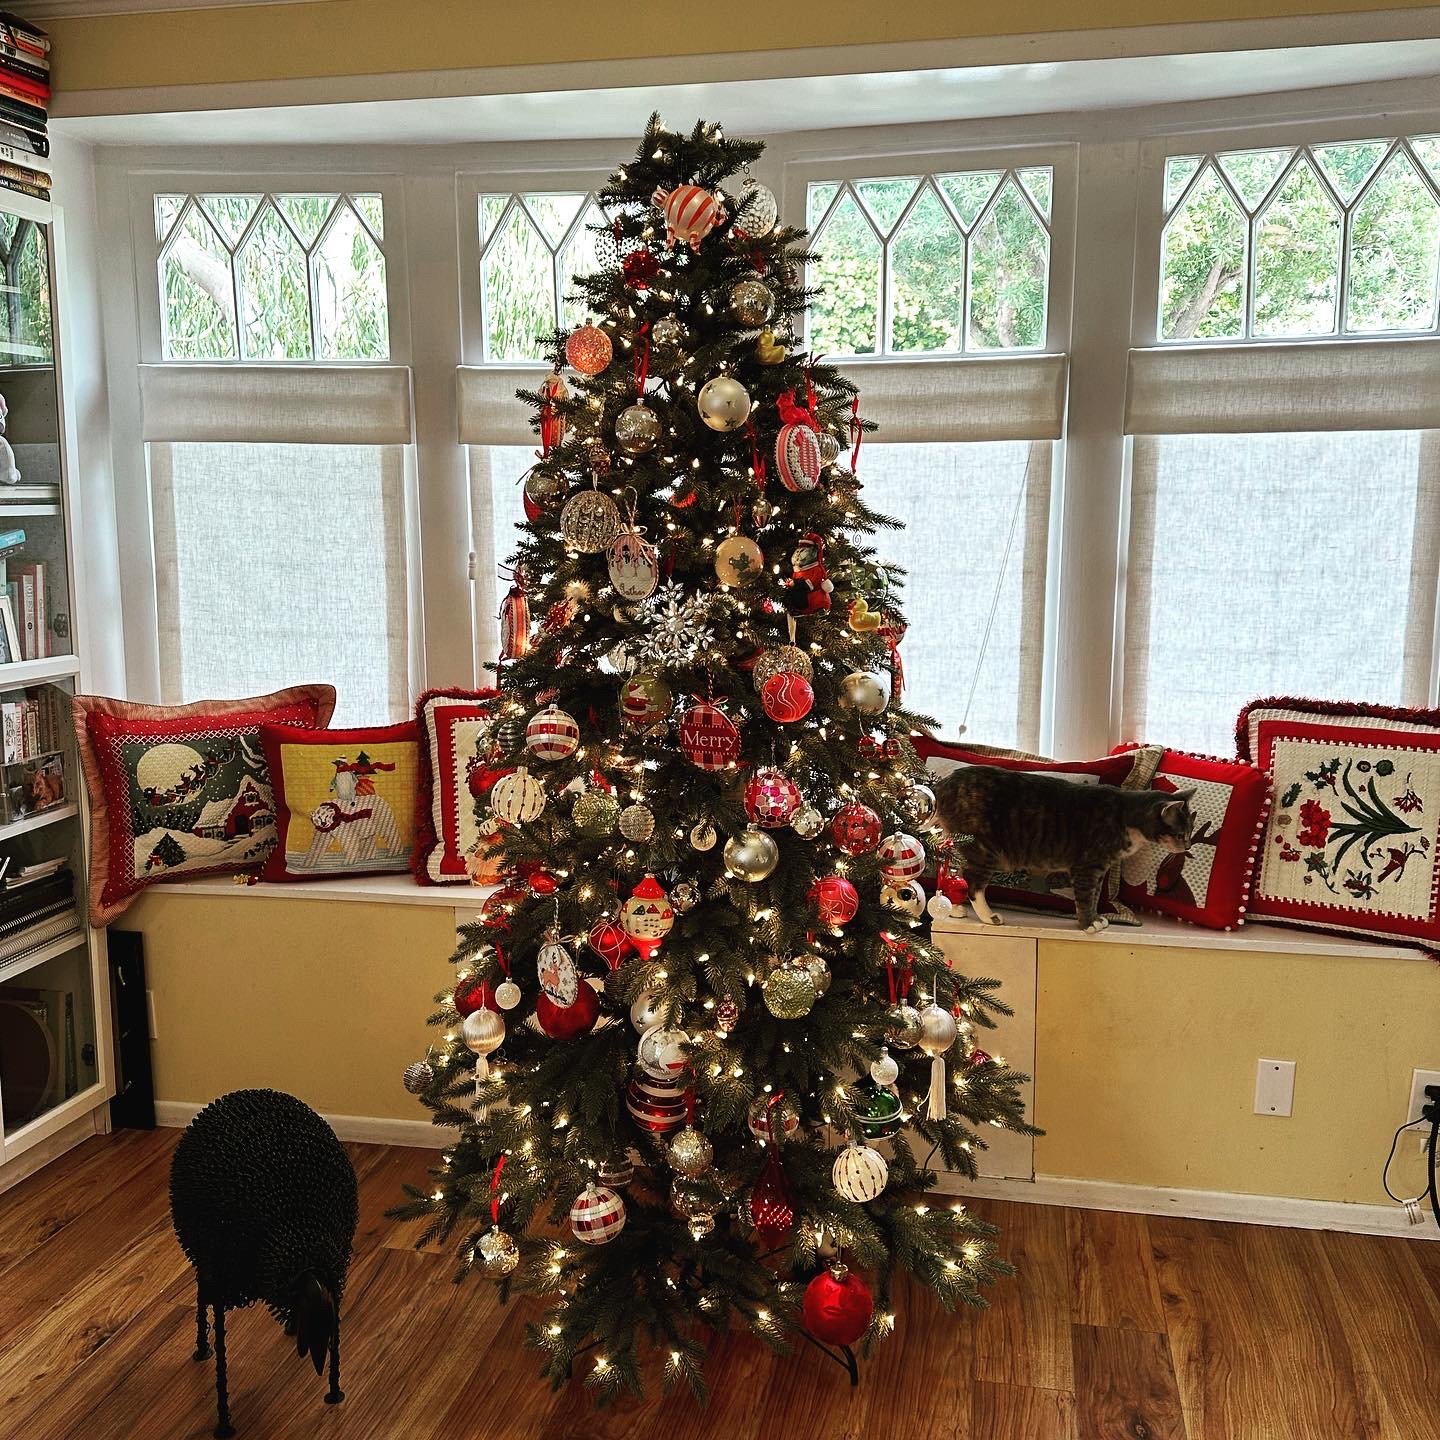
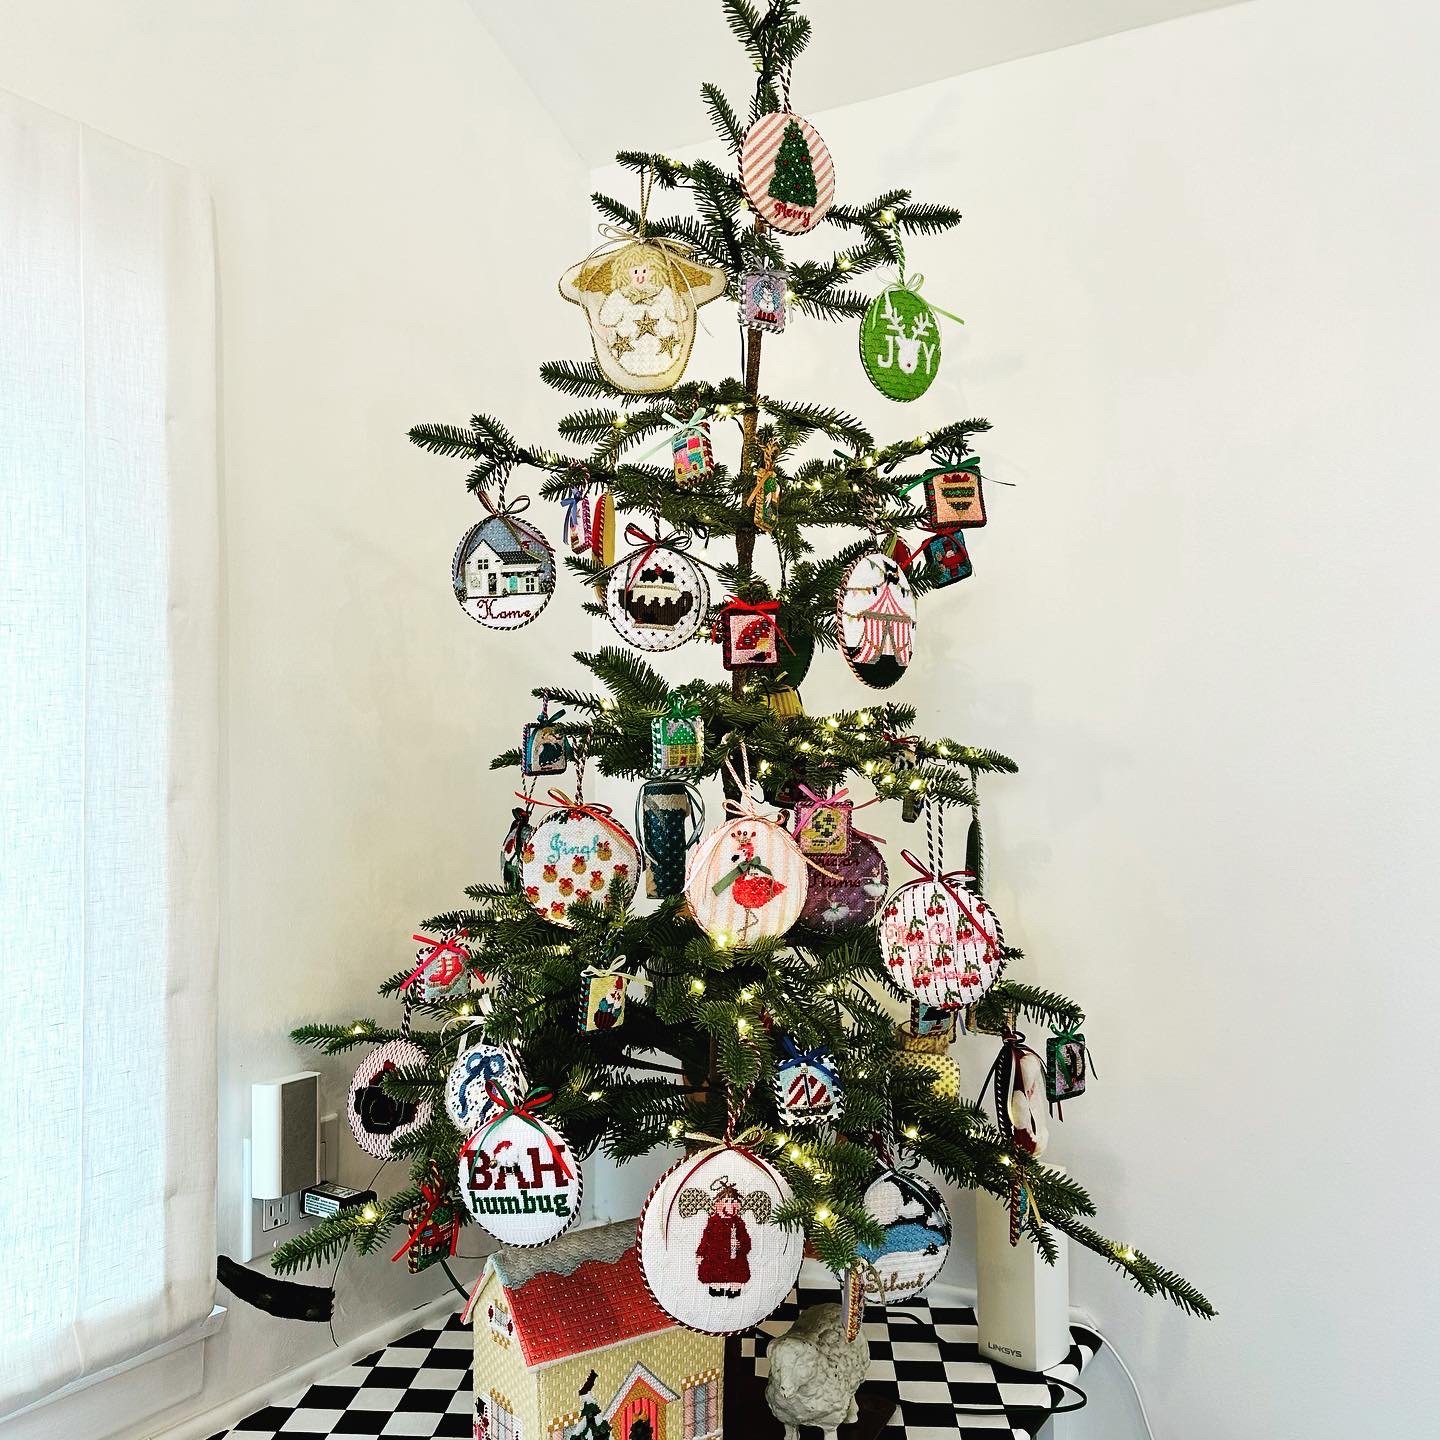
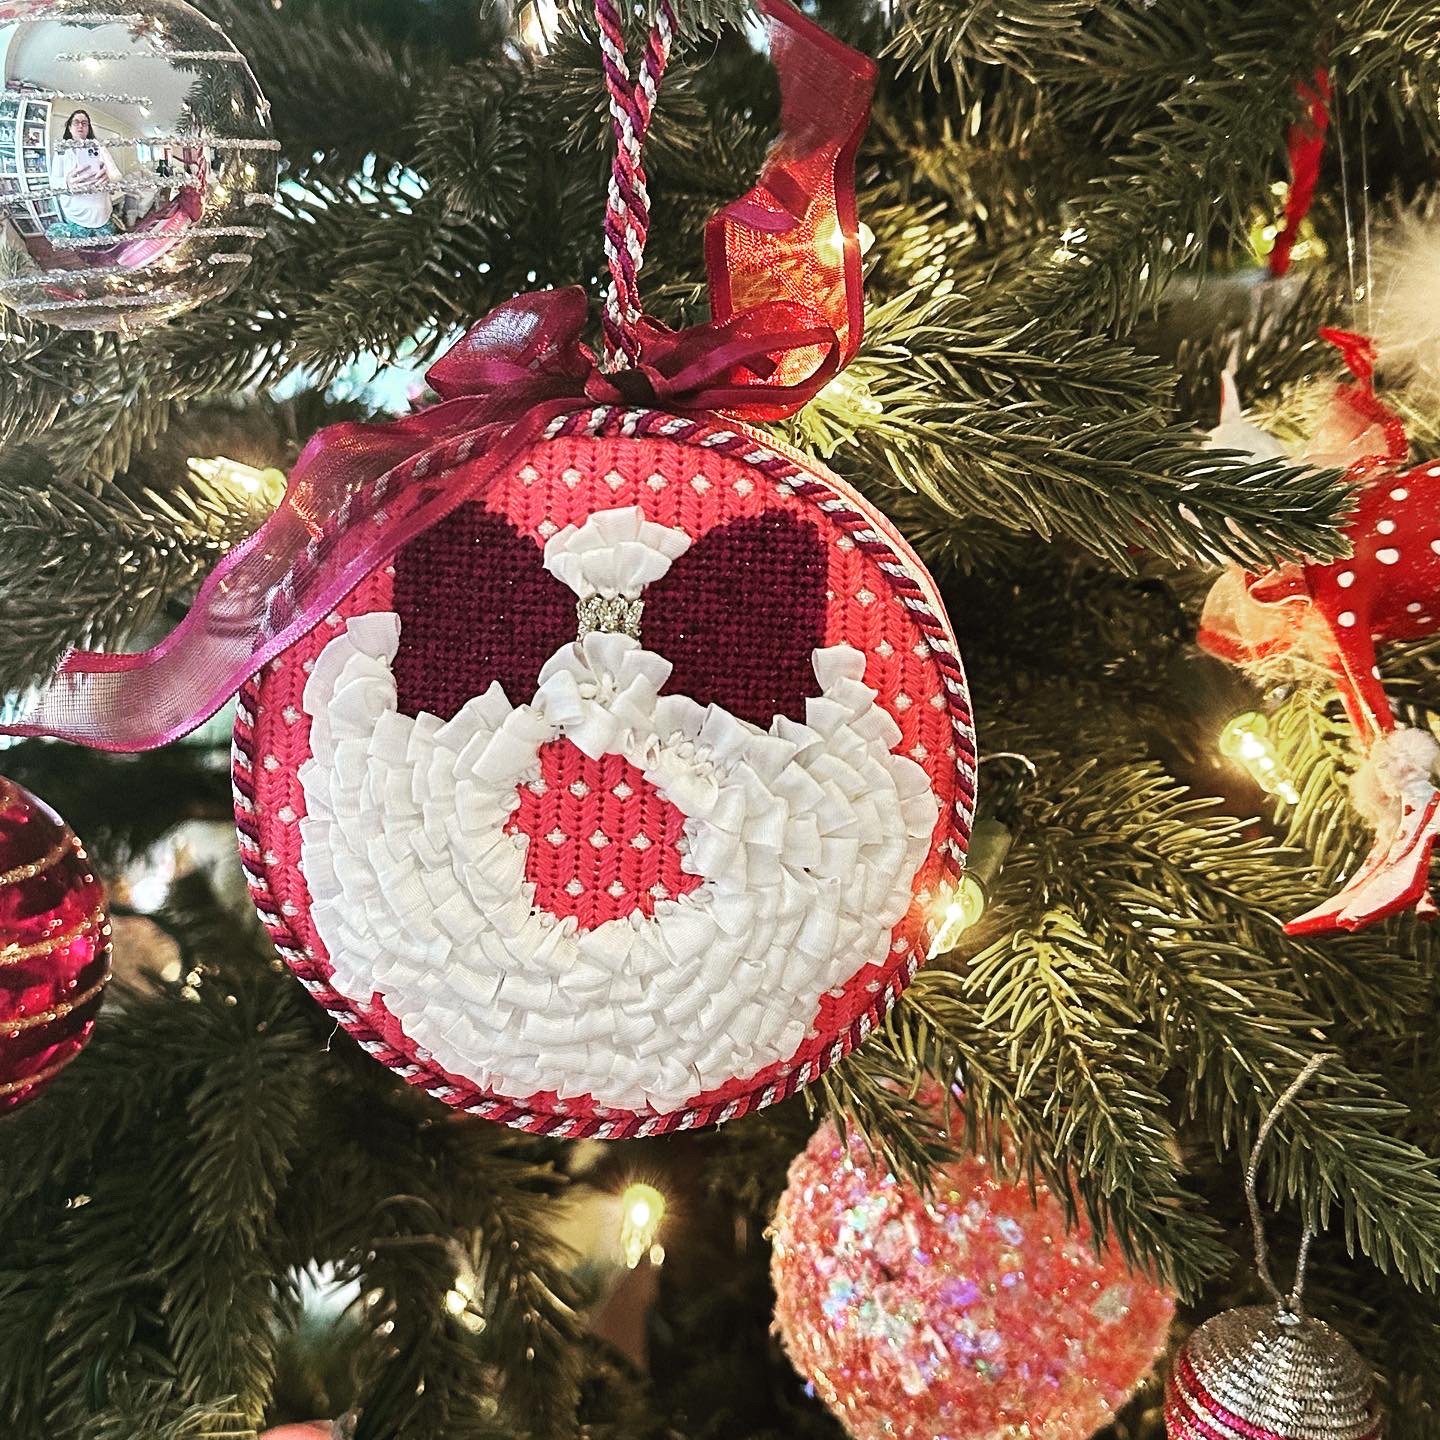
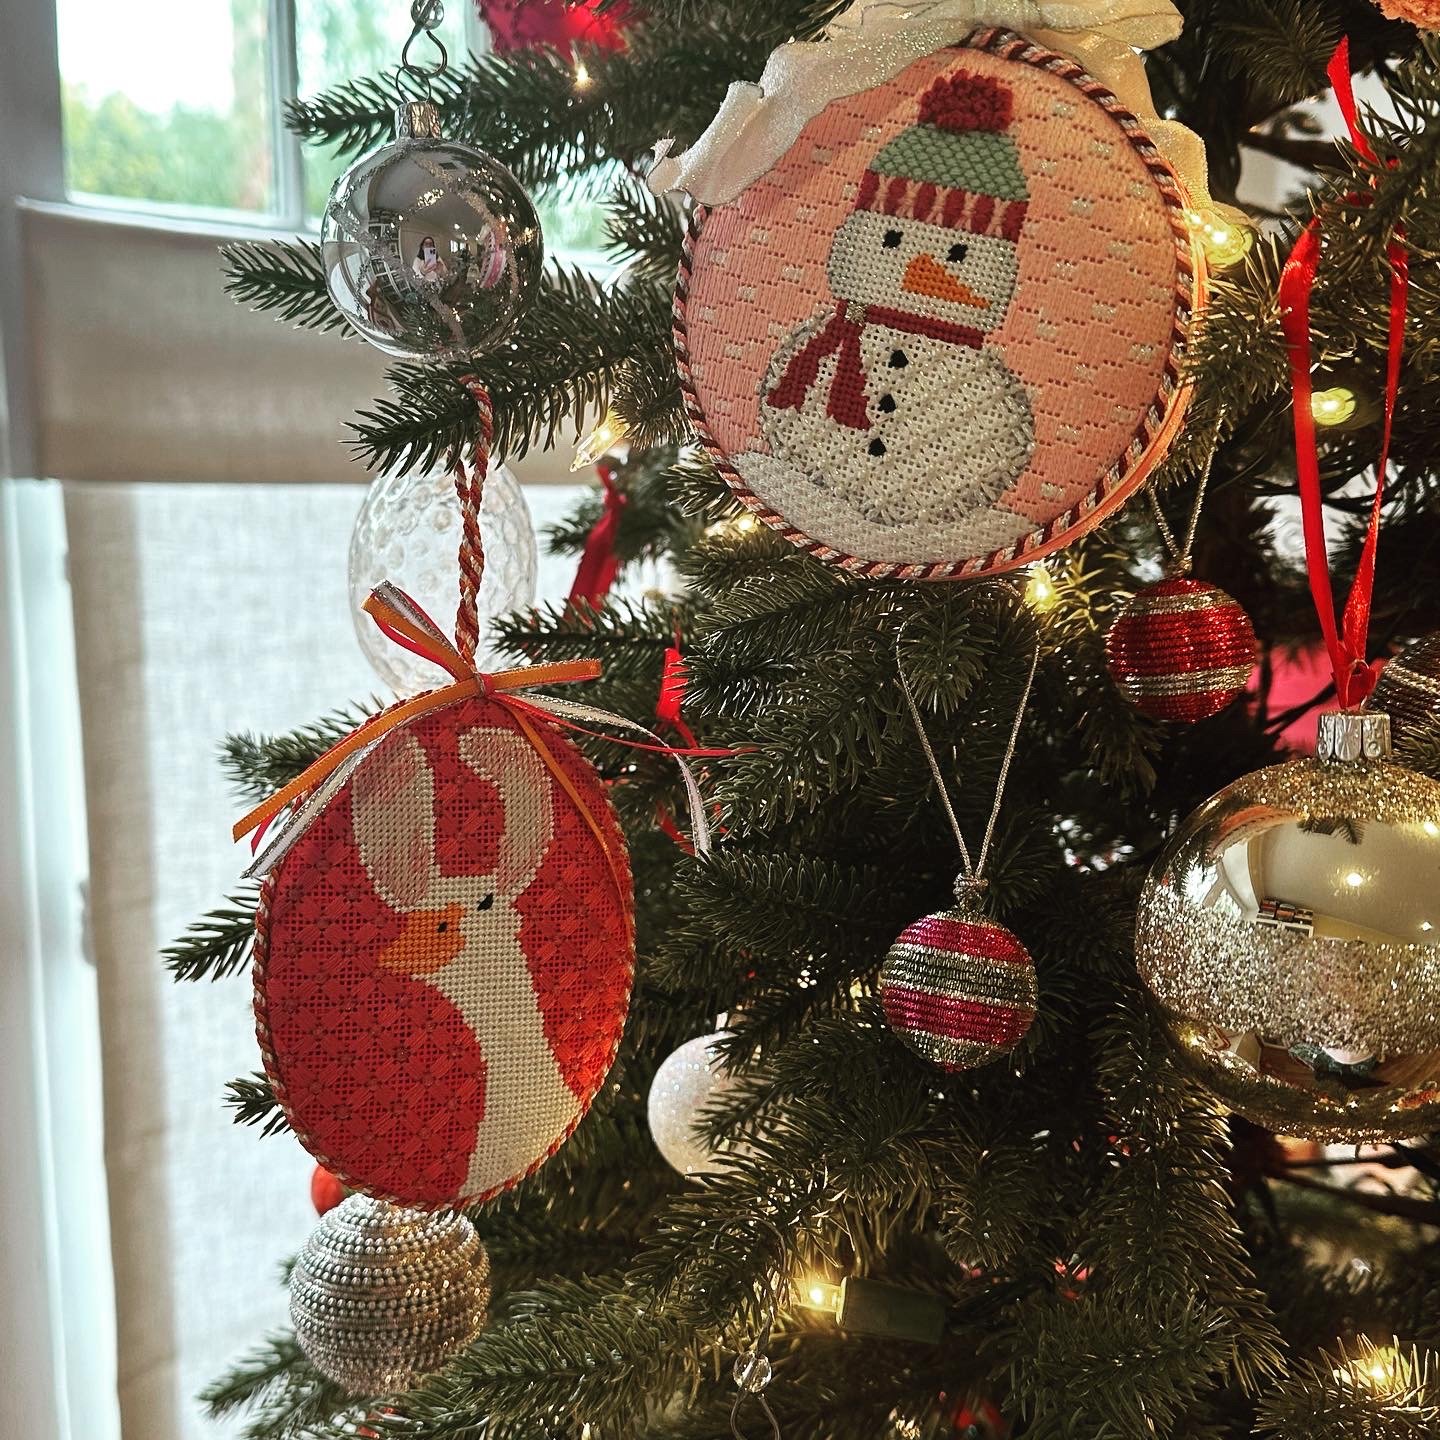
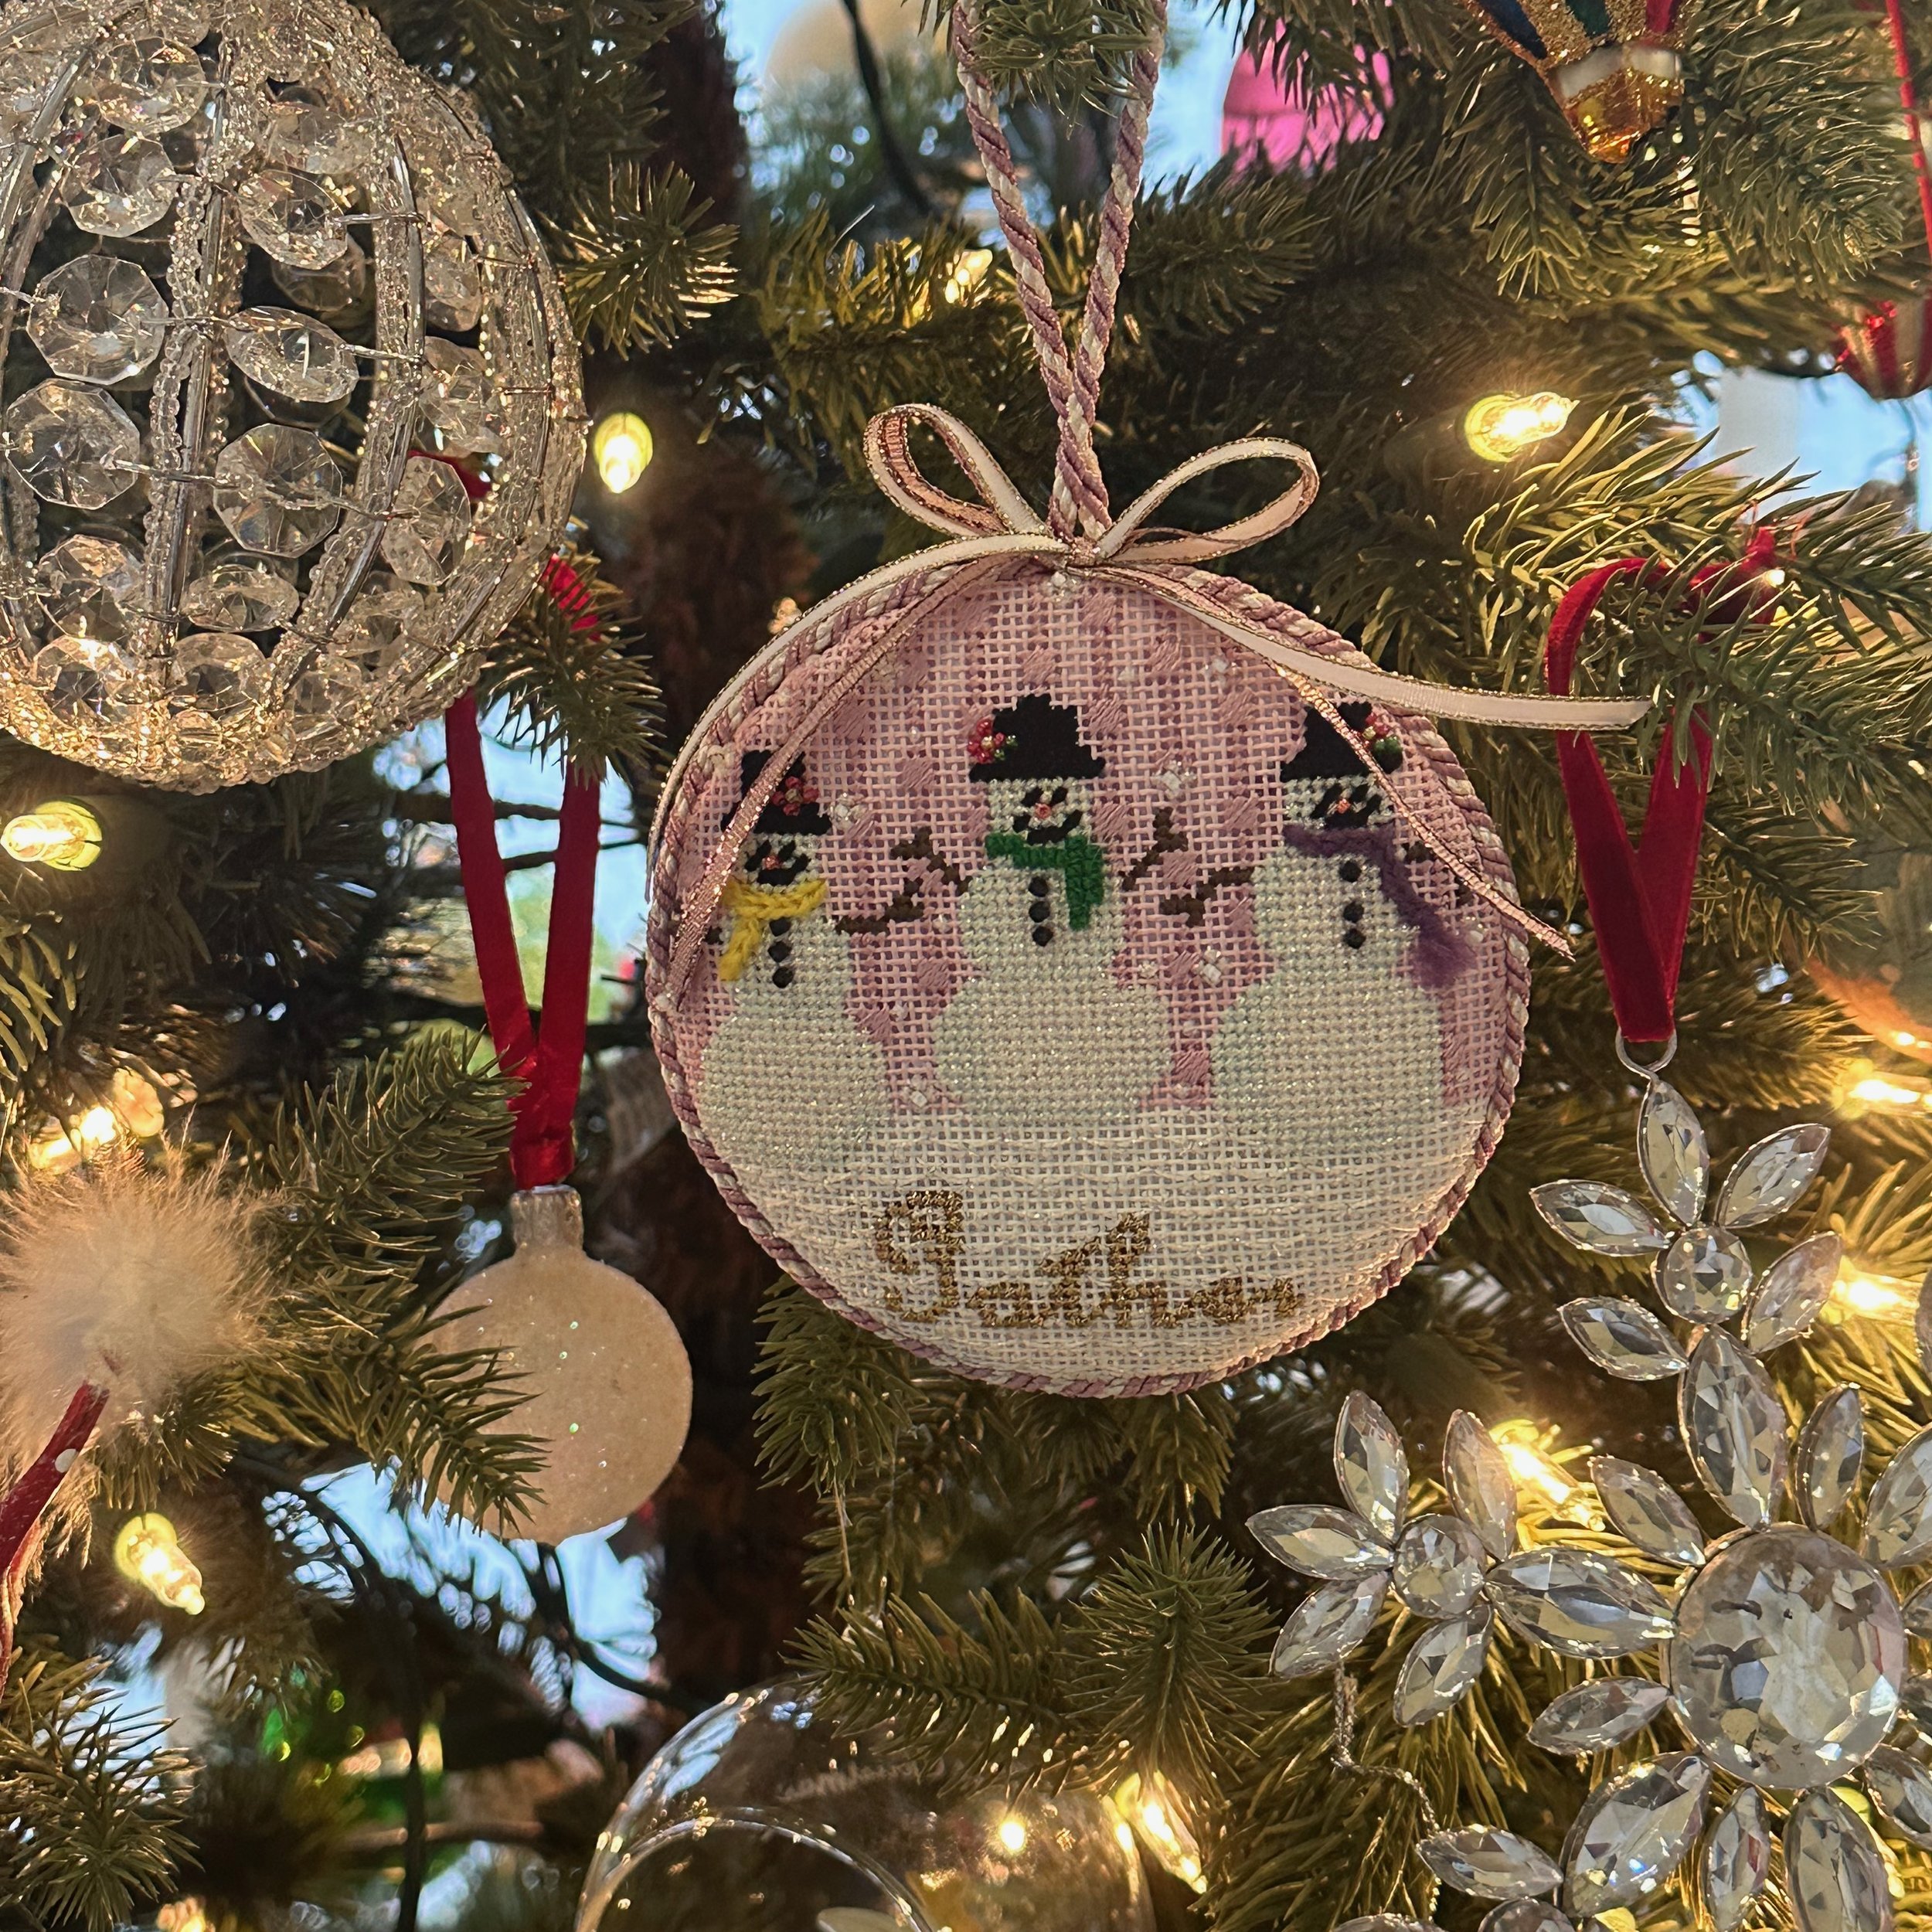
Technically, this stitch made its debut a few days ago. Visit Instagram to see a sample of my needlepoint Christmas decorations this year.

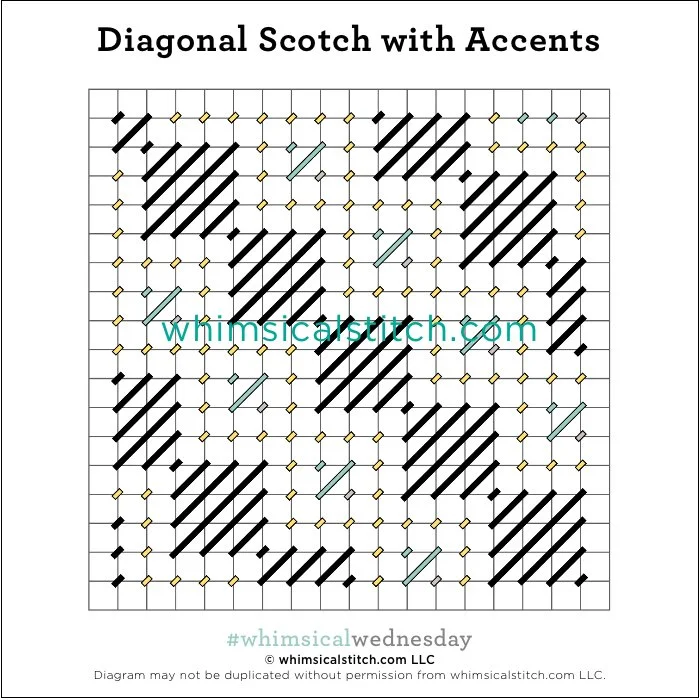
The stitched sample is 1990’s me stitching with Silk ‘n Ivory (black lines), Neon Rays (yellow lines), Frosty Rays (aqua lines), and Petite Very Velvet (gray lines) on a vintage Melissa Shirley two-sided Santa. (Today’s corresponding Instagram post also includes a full shot of both sides of Santa.)

This is a fantastic full-coverage stitch that is great for clothing. I adore the tiny pop of matte thread (Petite Very Velvet represented by the gray lines in the diagram) surrounded by metallic threads. It’s absolutely yummy. Another great thread combo for clothing is silk floss (five plies for 13M; three plies for 18M) for the black lines, Fyre Werks for the yellow lines, Flair for the aqua lines, and Vineyard Silk (13M) or Essentials (18M) for the gray lines.

I also like the idea of this stitch for a tree that you want to draw attention to in a project. I recommend Vineyard Silk (black lines), Flair (yellow lines), and an overdyed silk floss for the aqua AND gray lines.

Click on image to see the whimsicalstitch.com Stitch Library on pinterest.com. Includes all #whimsicalwednesday and #smallspacesunday stitch diagrams.

Just a reminder about how to evaluate stitches for size on your project.

As you are auditioning stitches (from any stitch source), count the number of canvas threads on the diagram that match your mesh size. And there you have what an inch of the stitch will look like. Evaluate that against the area where you plan to use the stitch and make your final decision. If you start integrating this step into your stitch selection process, you may be surprised at how many stitches you think are large are much smaller than you realize. (Or, in today’s case, the stitch is much larger than it looks.)

By (sometimes) including this step in my own process, I find I am now integrating much longer stitches than I ever thought I would. I used to think a stitch six rows long was super big. I have very much changed my tune, which has helped me expand my creativity, especially for large-space stitches.

Today’s stitch diagram, along with all other #whimsicalwednesday and #smallspacesunday stitch diagrams, can also be found on a Pinterest board here. Be sure to follow whimsicalstitch.com on FacebookPinterestInstagram, and Twitter.

If you like what you see on this blog, there's more. Mary’s Whimsical Stitches is a series of three books offering contemporary how-to collections of more than 250 stitches (in each volume) for all stitchers, regardless of skill level. All books include updated and sequenced diagrams from this blog plus a collection of all-new stitches from private lessons and other class projects. Visit here to find a needlepoint retailer that carries my books.

New to needlepoint or looking for a refresher? Please download a handy how-to guide covering basic needlepoint stitches and stitch compensation techniques along with new top-line information on needlepoint materials and tools, how to handle threads, and other helpful needlepoint resources.

whimsicalstitch.com also sells Stitch Guides and Stitch Concepts for Melissa Shirley Designs, Zecca DesignsSandra Gilmore, Purple Palm, Maggie, and Penny MacLeod, and many more. Click here to see the newest guides and click here to see the entire collection.

I hope you have the perfect spot for this stitch! Please enjoy! Have a wonderful #whimsicalwednesday!

A Note about Diagrams
I use color in diagrams to make them as clear as possible.  The primary function of different colored lines is to illustrate a stitch sequence.  For example, the layering of colors demonstrates you add them in that order.  They can also provide ideas on integrating additional threads (one line for each color).  Or, you can use the same thread for all color lines.  That's where I encourage you to use your imagination for the space you are stitching!