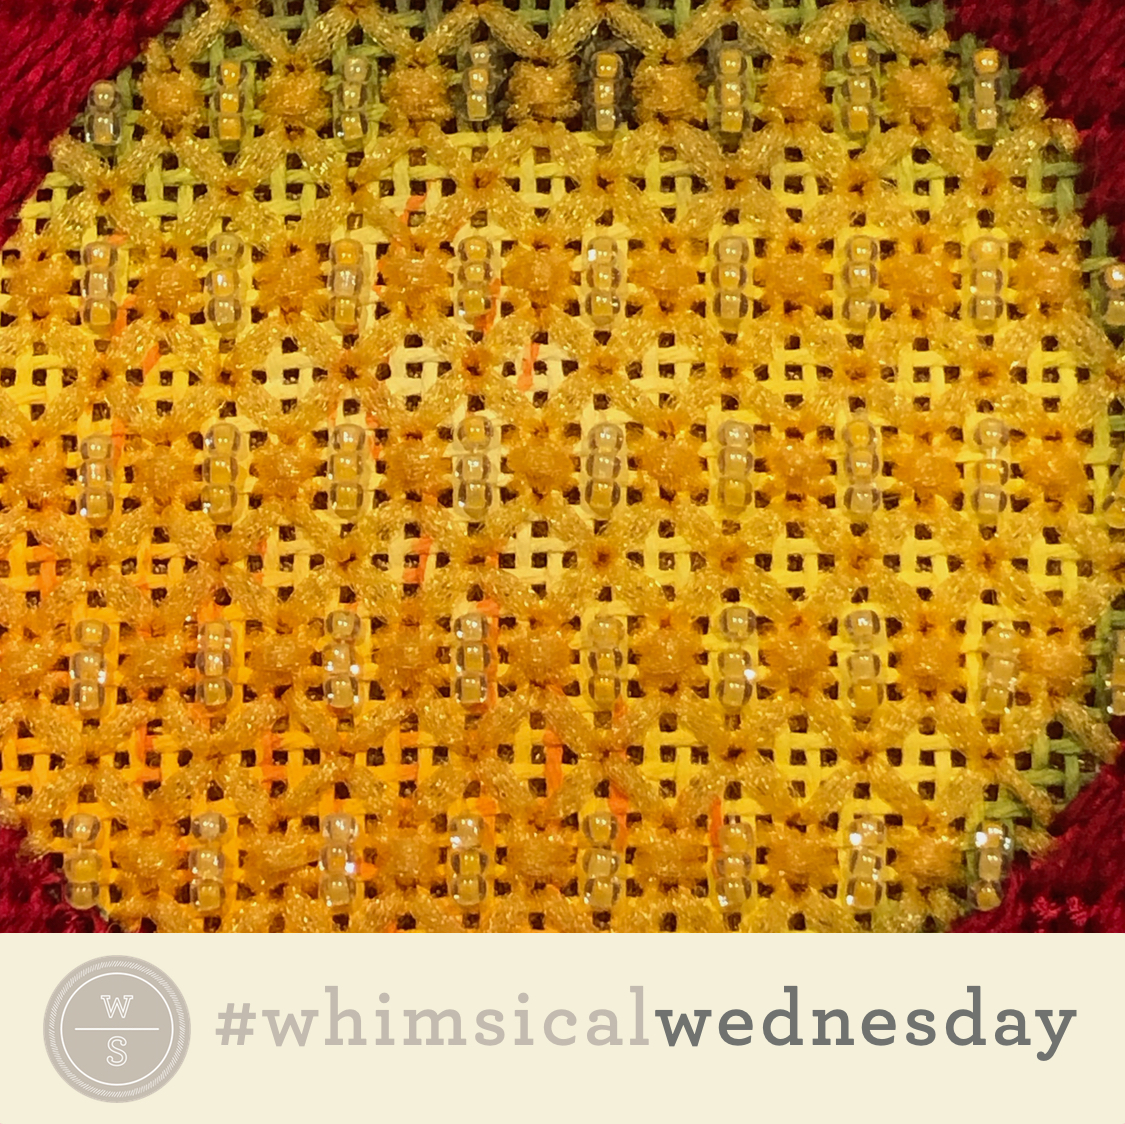
I thought this morning’s blog would literally write itself. The diagram was complete…the photo of the stitched sample existed…so, it’s done, right? Do I need to tell you that this was not the stitch diagram and photo I was anticipating I would be sharing with you? Even so, it’s still kinda cute!
The stitched sample is a pear from a vintage Melissa Shirley fruit piece (as part of the pinnacle of my fruit pillow years). It uses DMC Perle Cotton (black lines), and two Kreinik Metallics (gray lines and yellow lines).
Eyelet stitches are beautiful but do require a smidgen of pre-planning. As you can see in the stitched sample above, the stitches creating an eyelet share a single and larger center hole. The larger hole was created before the stitching began by inserting a tapered laying tool inside this hole and gently pushing it to create a slightly larger hole. Truth be told, this terrified me and I always found someone to do it for me…or wouldn’t do eyelet stitches at all. I got over it when I realized, to create similarly sized holes, you could put a small tick or tiny rubber band (ask your kid’s orthodontist for some) on the laying tool to indicate what point to not pass.
The second point to keep in mind is, with any hole that multiple (more than 2-3) stitches share, always stitch from the outer edge to the inside shared hole. This minimizes friction on the thread inside the shared hole. (Also, fun fact for you. Eyelet holes don’t have to be in the center!)
This is a great all-purpose stitch for an area that you want to draw attention to and highlight the canvas painting. It’s great for clothing, water, Santa’s bags…even a floor. More substantial threads will draw even more attention to this stitch. For example, consider the combination of a single strand silk (Vineyard Silk, Pepper Pot Silk) for the black lines, Fyre Werks for the gray lines, and Silk Lame for the yellow lines for a clothing or bag stitch. Another idea is to replace the Smyrna Cross (yellow lines) with a single larger bead (size 8 or even a 3mm pearl) over two holes on the vertical axis.
This stitch diagram, along with all other #whimsicalwednesday and #smallspacesunday stitch diagrams, can also be found on a Pinterest board here.
Be sure to follow whimsicalstitch.com on Facebook, Pinterest, Instagram, and Twitter.
If you like what you see on this blog, want to learn some very creative decorative stitches, and how to put them all together, whimsicalstitch.com sells Stitch Guides and Stitch Concepts for Melissa Shirley Designs, Zecca Designs, Sandra Gilmore, Purple Palm, Maggie, and Penny MacLeod, and many more. Click here to see the newest guides and click here to see the entire collection.
I hope you have the perfect spot for this stitch! Please enjoy! Have a wonderful #whimsicalwednesday!
A Note about Diagrams
I use color in diagrams to make them as clear as possible. The primary function of different colored lines is to illustrate a stitch sequence. For example, layering of colors demonstrates you add them in that order. They can also provide ideas on how to integrate additional threads (one line for each color). Or, you can use the same thread for all color lines. That's where I encourage you to use your imagination for the space you are stitching!


