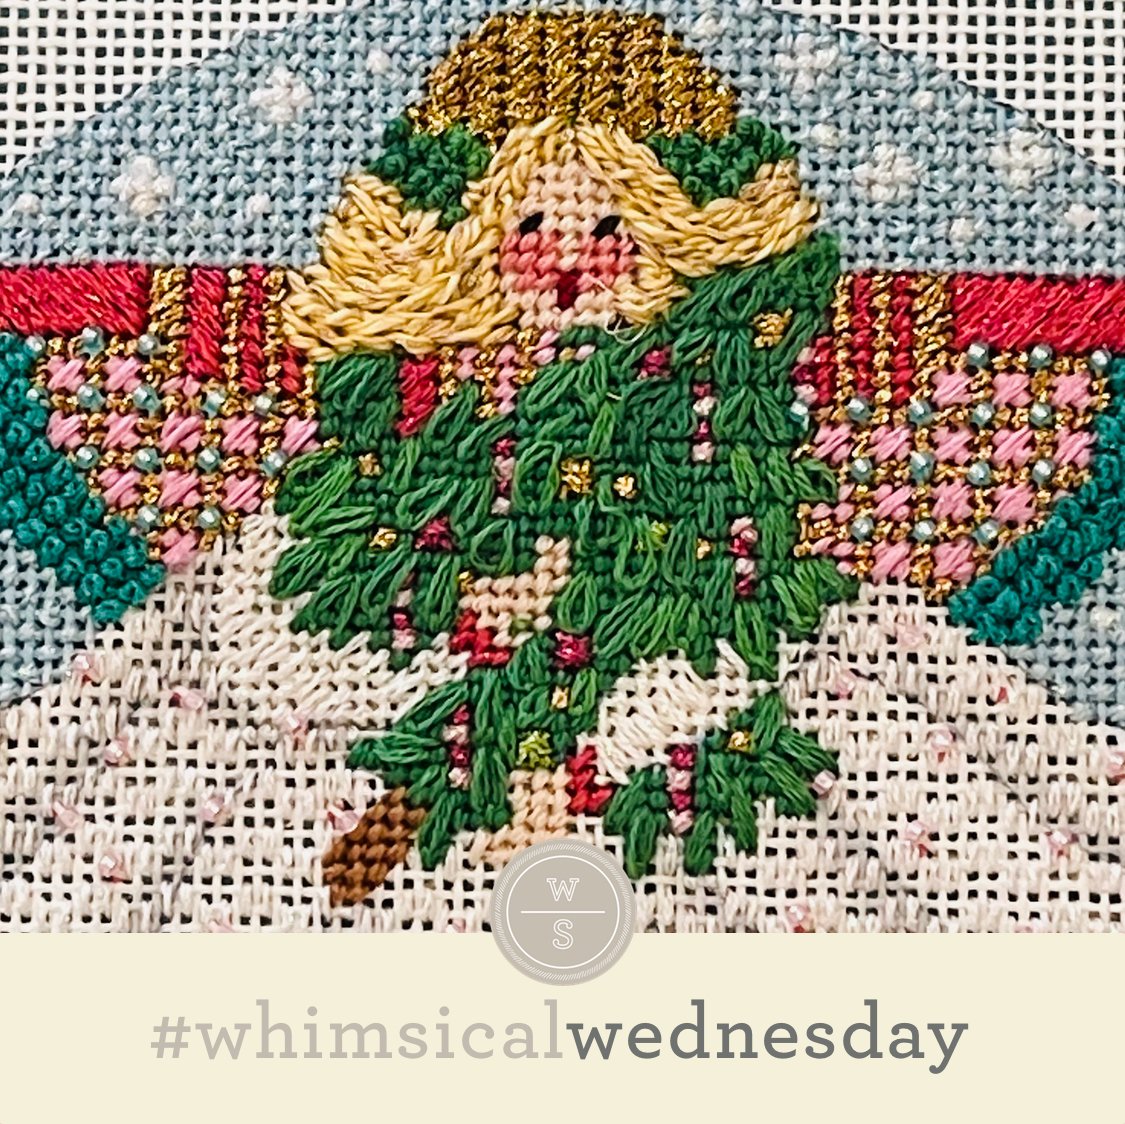
Today’s stitch is a classic embroidery stitch that works so well in needlepoint. The Lazy Daisy is an easy stitch that adds charm and interest to your projects.
Creating a Lazy Daisy is super easy. Come up at 1 and return your needle through the same hole, leaving a small-ish loop (plus some extra thread) on top of the canvas. Bring your needle up two or so holes away and catch the loop with your needle. Continue pulling on the thread until you create a small loop on top of the canvas, returning the thread one hole away to attach the loop to the canvas.
Here is where the technical terms come in. I prefer more oval loops, so I will use my needle to play with the aforementioned extra thread to scooch, finagle, or wrangle the loop into my desired shape before I tack it down.
Lazy daisy coverage can be tricky. Sometimes, if you pack every single inch of an area with lazy daisies, the effect can be…a lot. One of my favorite stitchers shared her solution with me. She adds a layer of Plain Needlepoint on the area before she adds any Lazy Daisies, as illustrated by the second diagram and the stitched sample. The end result is a lovely compromise where you can see individual lazy daisies along with a full coverage look. I love how this works out!
The stitched sample is my friend’s adorable Melissa Shirley angel ornament with DMC Floss (turquoise lines) and ThreadWorx Floss (black lines).
Fun fact. Lazy daisies make fantastic flower petals.
Super easy. The stitched sample is River Silks 7mm ribbon (black lines) with Kreinik (yellow lines) on 18M. Generally speaking, I recommend stitching the Smyrna Cross center first. When I stitched the stitched sample (eons ago), I don’t recall having issues with the silk ribbon versus the Kreinik. However, I would still advise patience and caution with that thread mix.
These stitch diagrams, along with all other #whimsicalwednesday and #smallspacesunday stitch diagrams, can also be found on a Pinterest board here. Be sure to follow whimsicalstitch.com on Facebook, Pinterest, Instagram, and Twitter.
If you like what you see on this blog, there's more: Mary’s Whimsical Stitches Volume 1 is a contemporary how-to collection of more than 250 stitches for stitchers regardless of skill level. The book includes updated and sequenced diagrams from this blog, all-new stitches, and a chapter on the basics of needlepoint; Mary’s Whimsical Stitches Volume 2 features chapters on Balanced, Beading, Diagonal, Layered, Oblique, Small, and Straight stitches.
Also, you can download for free the first chapter from my first book which covers basic needlepoint stitches and stitch compensation techniques along with new top-line information on needlepoint materials and tools, how to handle threads, and other helpful needlepoint resources.
whimsicalstitch.com also sells Stitch Guides and Stitch Concepts for Melissa Shirley Designs, Zecca Designs, Sandra Gilmore, Purple Palm, Maggie, and Penny MacLeod, and many more. Click here to see the newest guides and click here to see the entire collection.
I hope you have the perfect spot for this stitch! Please enjoy! Have a wonderful #whimsicalwednesday!
A Note about Diagrams
I use color in diagrams to make them as clear as possible. The primary function of different colored lines is to illustrate a stitch sequence. For example, layering of colors demonstrates you add them in that order. They can also provide ideas on how to integrate additional threads (one line for each color). Or, you can use the same thread for all color lines. That's where I encourage you to use your imagination for the space you are stitching!


