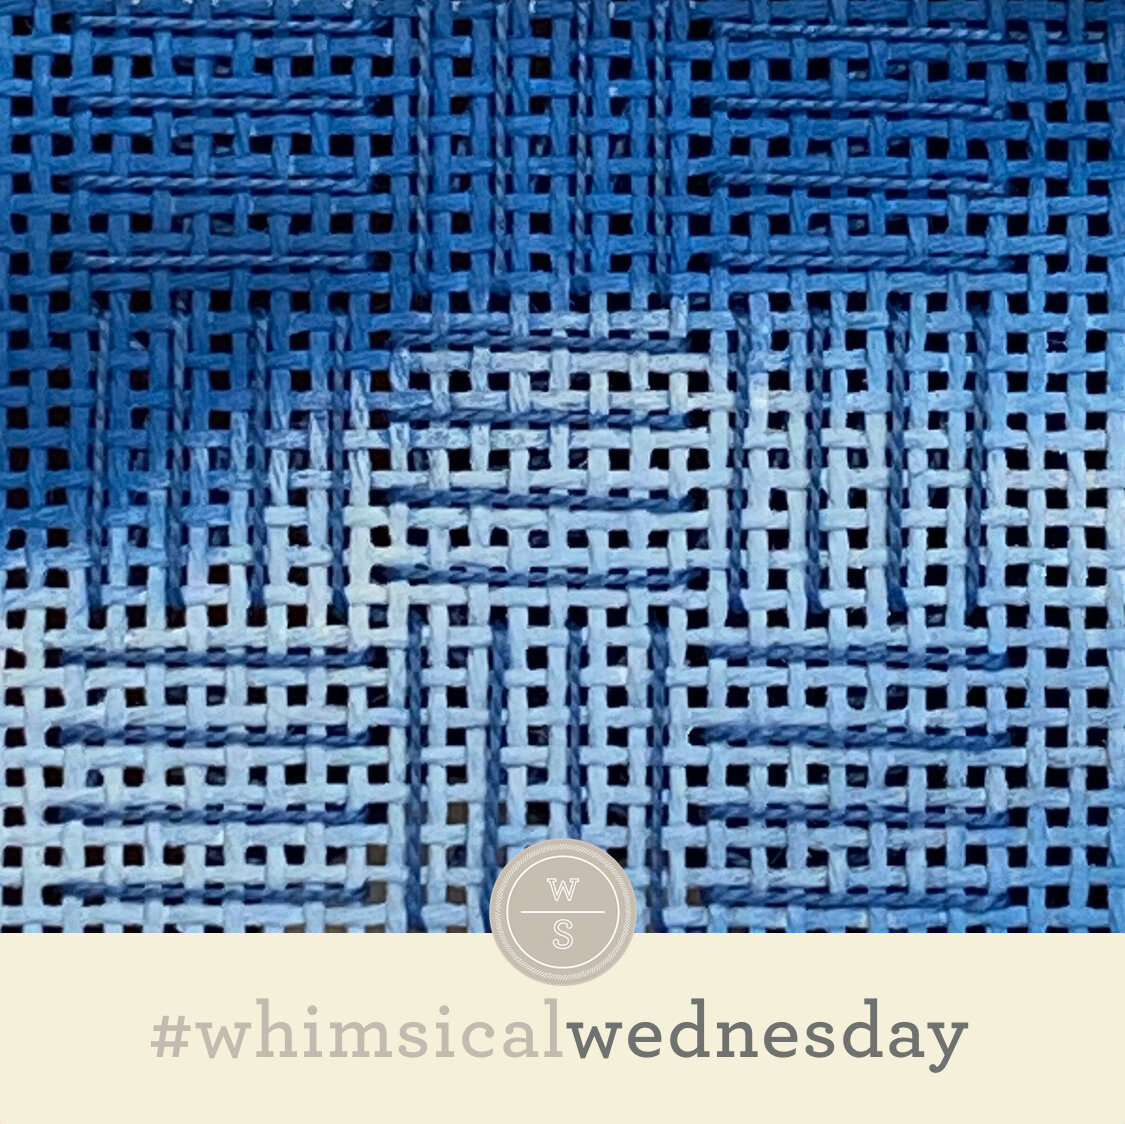
The highlight of yesterday morning’s unplanned visit to the vet was stumbling across a rubber mat, which forced me to look down…to see a fun pattern that inspired today’s stitches! (And, yes, it’s a two-fer!) (The stitch is named in honor of my poor girl Lola who was subjected to the vet yesterday morning. She’s home and fine now, and milking this for all it’s worth. Still.)
The stitched samples are me playing with Finca Perle (size 12) on 13M (top) and the same Finca Perle with a size 8 Kreinik on 13M (bottom). The top version is more representative of the pattern on the rubber mat, but I remembered a fun background I saw on Pinterest and added the smaller straight stitches in the empty rows on the second version. I expected to like the second one more than the first but the truth is they both have a place in needlepoint and I like them equally and for different reasons.
Obviously, any stitch over eight rows AND skipping a row is going to go fast. What I love about the top version is, yes, how little time it took to stitch but also the sheer simplicity of it. It’s an interesting pattern with two twists (the size and the skipped row). It will make a fantastic wallpaper or solid colored background, a large rooftop, smooth water, or a large green field. Consider using two colors or finishes, one for each direction. Based on the simplicity of this version, lighter weight threads come to mind here, such as a cotton or silk perle, Petite Silk Lame, silk floss (4 plies for 13M; 2-3 plies for 18M).
The second version adds more intrigue. As I mentioned, a background on Pinterest introduced me to the idea of adding the smaller stitches in the empty rows. It works well and makes this stitch one that will work well for areas that you want to bring attention to. I can see this working well on a Santa bag with Petite Very Velvet and Kreinik Metallics Tapestry Braid (#12). It will make beautiful clothing with a single strand silk and Silk Lame.
This stitch diagram, along with all other #whimsicalwednesday and #smallspacesunday stitch diagrams, can also be found on a Pinterest board here.
Be sure to follow whimsicalstitch.com on Facebook, Pinterest, Instagram, and Twitter.
If you like what you see on this blog, want to learn some very creative decorative stitches, and how to put them all together, whimsicalstitch.com has a book for you! Mary’s Whimsical Stitches is a contemporary how-to collection of more than 250 stitches for stitchers regardless of skill level. The book includes updated and sequenced diagrams from this blog, all-new stitches, and a chapter on the basics of needlepoint. For more information, visit here.
whimsicalstitch.com also sells Stitch Guides and Stitch Concepts for Melissa Shirley Designs, Zecca Designs, Sandra Gilmore, Purple Palm, Maggie, and Penny MacLeod, and many more. Click here to see the newest guides and click here to see the entire collection.
I hope you have the perfect spot for this stitch! Please enjoy! Have a wonderful #whimsicalwednesday!
A Note about Diagrams
I use color in diagrams to make them as clear as possible. The primary function of different colored lines is to illustrate a stitch sequence. For example, layering of colors demonstrates you add them in that order. They can also provide ideas on how to integrate additional threads (one line for each color). Or, you can use the same thread for all color lines. That's where I encourage you to use your imagination for the space you are stitching!


