I need to rip out a section on a current needlepoint project. Naturally, the solution is to post the blog I intended to post last Sunday. I am confident my kitchen cabinet will be reorganized before I finish ripping out the stitching. Okay, before I even start.
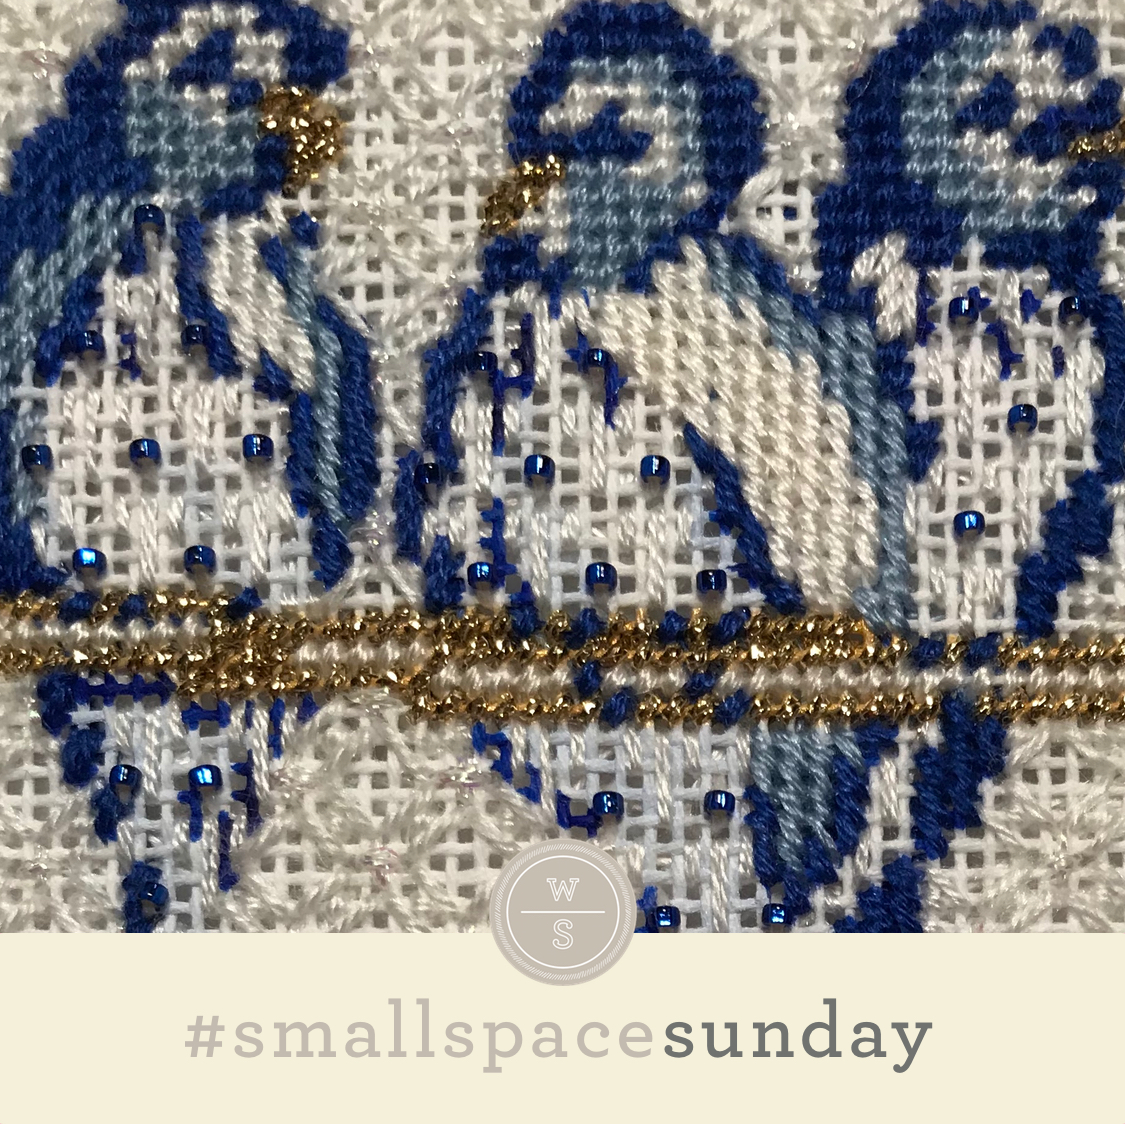
A stitching friend shared this stitch (without the beads) with me a while ago. I immediately forgot about it (#middleagedbrain) and went on my merry way. While looking for a small stitch for a wing, I stumbled across it in my photo stream, added some beads, and voila!
The stitched sample comes from Joanna at the Plum Stitchery. It’s from 4 Colly Birds, part of the Twelvetide Club hosted by the Wool & the Willow in Cleveland Heights. It uses two plies of Needlepoint Inc. silk floss and a size 14 Sundance Bead (on 18-mesh).
This stitch would be perfect for water with a lightweight metallic (Kreinik size 4 or size 8, ThreadWorx size 4 or size 8, Petite Silk Lame, or Flair) and a seed bead. (Great seed bead resources include Bead Dazzle, Caravan Beads, Sundance Designs, or S&J Designs.) This stitch will make an adorable jacket for an elf or a doll dress with Petite Very Velvet and a size 11 seed bead. Consider alternating matte and metallic threads by horizontal row. A suggested thread combo is 4 plies of silk floss for the matte with Silk Lame (18-count) for the metallic with a seed bead or a Swarovski round crystal for the bead accent.
Why 4-ply when you used 2-ply in the stitched sample? It’s all a matter of taste, the thread combos, and what your are trying to accomplish. I used two plies for the birds because I wanted the shading on the chest to show through. I recommended four plies for the alternating example because I needed the weight of the matte thread to be similar to the weight of the metallic thread. Otherwise, the metallic thread would overpower the area.
Technically, today is a two-fer as you can eliminate the beads for a more straightforward small space stitch. You could also add two small beads in each intersection for a truly glamorous stitch. (Stitch diagrams are never truly to scale, so please trust me that this will work.) You could also add the beads over three holes, instead of two as illustrated, for even more possibilities.
This stitch diagram, along with all other #whimsicalwednesday and #smallspacesunday stitch diagrams, can also be found on a Pinterest board here.
Be sure to follow whimsicalstitch.com on Facebook, Pinterest, Instagram, and Twitter.
If you like what you see on this blog, want to learn some very creative decorative stitches, and how to put them all together, whimsicalstitch.com sells Stitch Guides and Stitch Concepts for Melissa Shirley Designs, Zecca Designs, Sandra Gilmore, Purple Palm, Maggie, and Patience Brewster, and many more. Click here to see the newest guides and click here to see the entire collection.
hope you have the perfect spot for this stitch! Enjoy! Happy #smallspacesunday!
A Note about Diagrams
I use color in diagrams to make them as clear as possible. The primary function of different colored lines is to illustrate a stitch sequence. For example, layering of colors demonstrates you add them in that order. They can also provide ideas on how to integrate additional threads (one line for each color). Or, you can use the same thread for all color lines. That's where I encourage you to use your imagination for the space you are stitching!


